This is an old revision of the document!
Sending in transit from the Prep Center to FBA
The Transit to FBA shipment type notifies the Prep Center that the goods will be sent to Amazon after arriving at the Prep Center. Thus the Prep Center must accept the goods and immediately forward them to the carrier.
Creation of Shipment Transit to FBA
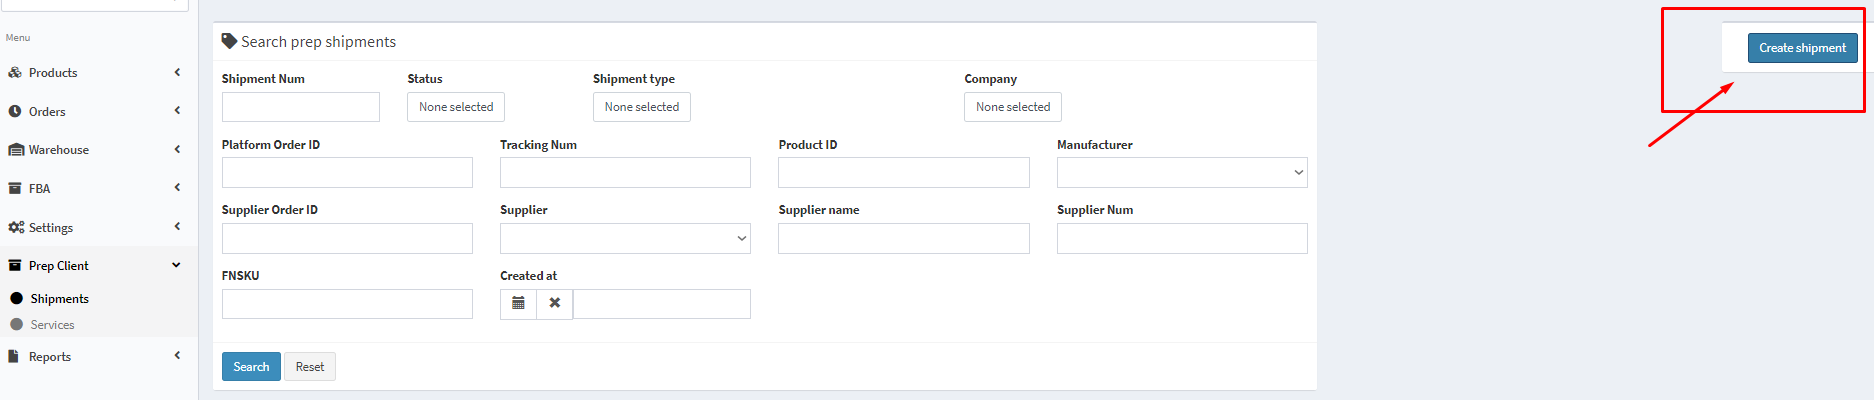
1. Go to the tab Prep Client-Shipments. Click on Create shipment in order to create a shipment to the Prep Center. Select the shipment type Transit to FBA from Prep.

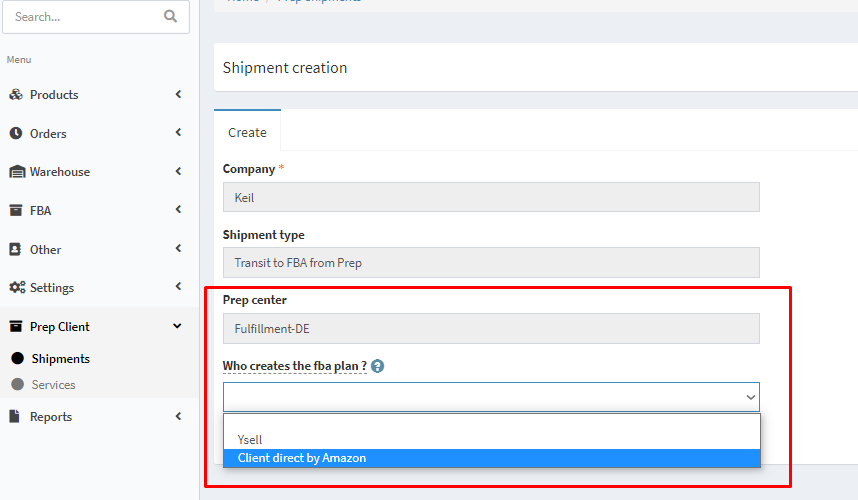
2. Specify which Prep Center will process the shipment. In the field Who Creates the FBA plan? specify whether the FBA plan will be created through Ysell or by Amazon.
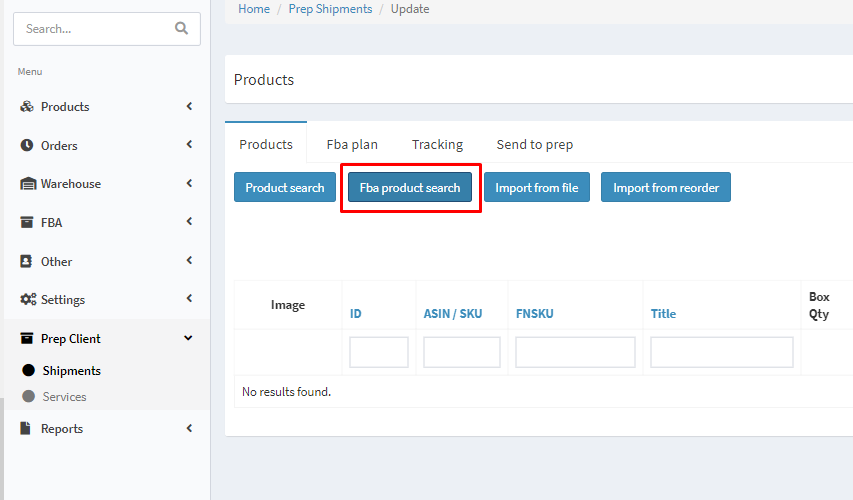
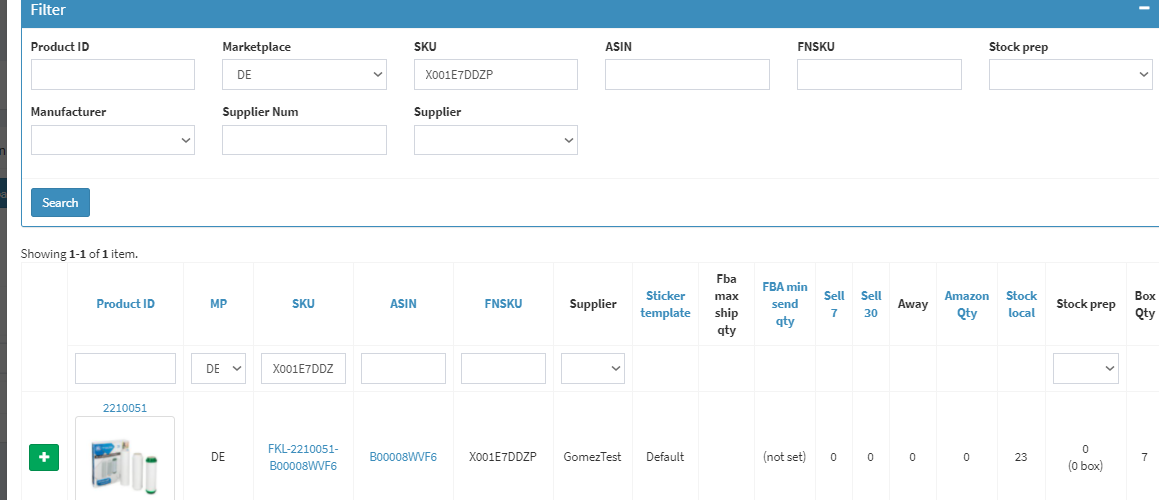
3. By clicking on FBA Product Search in the window of the created shipment, make a search for a product by its SKU/FNSKU/ASIN.
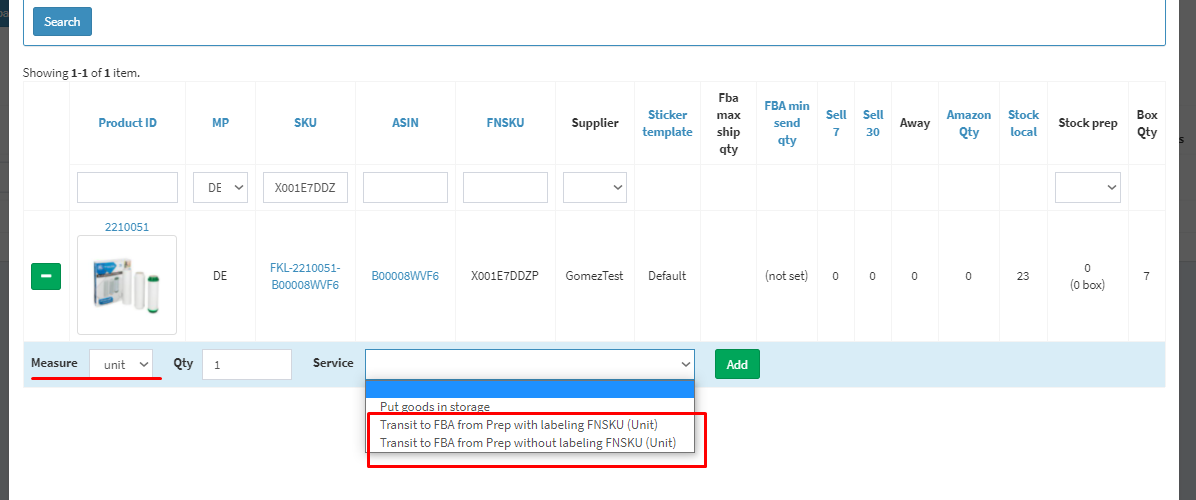
4. Add the goods to the shipment. You can add the goods in units or boxes. When adding goods in units, the system will offer the service of sending goods in transit with or without FNSKU labeling. Adding goods in boxes is possible if the goods have specified Masterbox Dimensions in the card. When adding goods in boxes, the system will offer a transit service with Masterbox.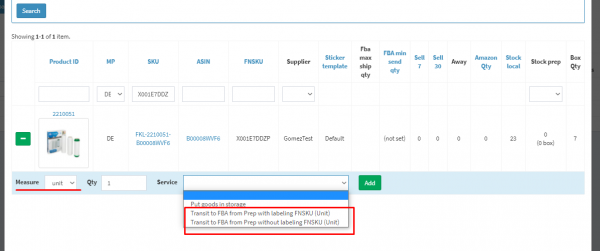

5. Create an FBA plan for the shipment. Go to the tab FBA plan and create a new FBA plan.

6. Click on Create shipments to create a new FBA shipment.

7. In the tab FBA plan, the information about the created FBA shipment has appeared - its name, Shipment ID on Amazon, the city in which the shipment will arrive, as well as the status of the shipment on Amazon. By clicking on Amazon you will open the created shipment in Seller Central. By clicking on Delete you delete the information about the FBA plan.

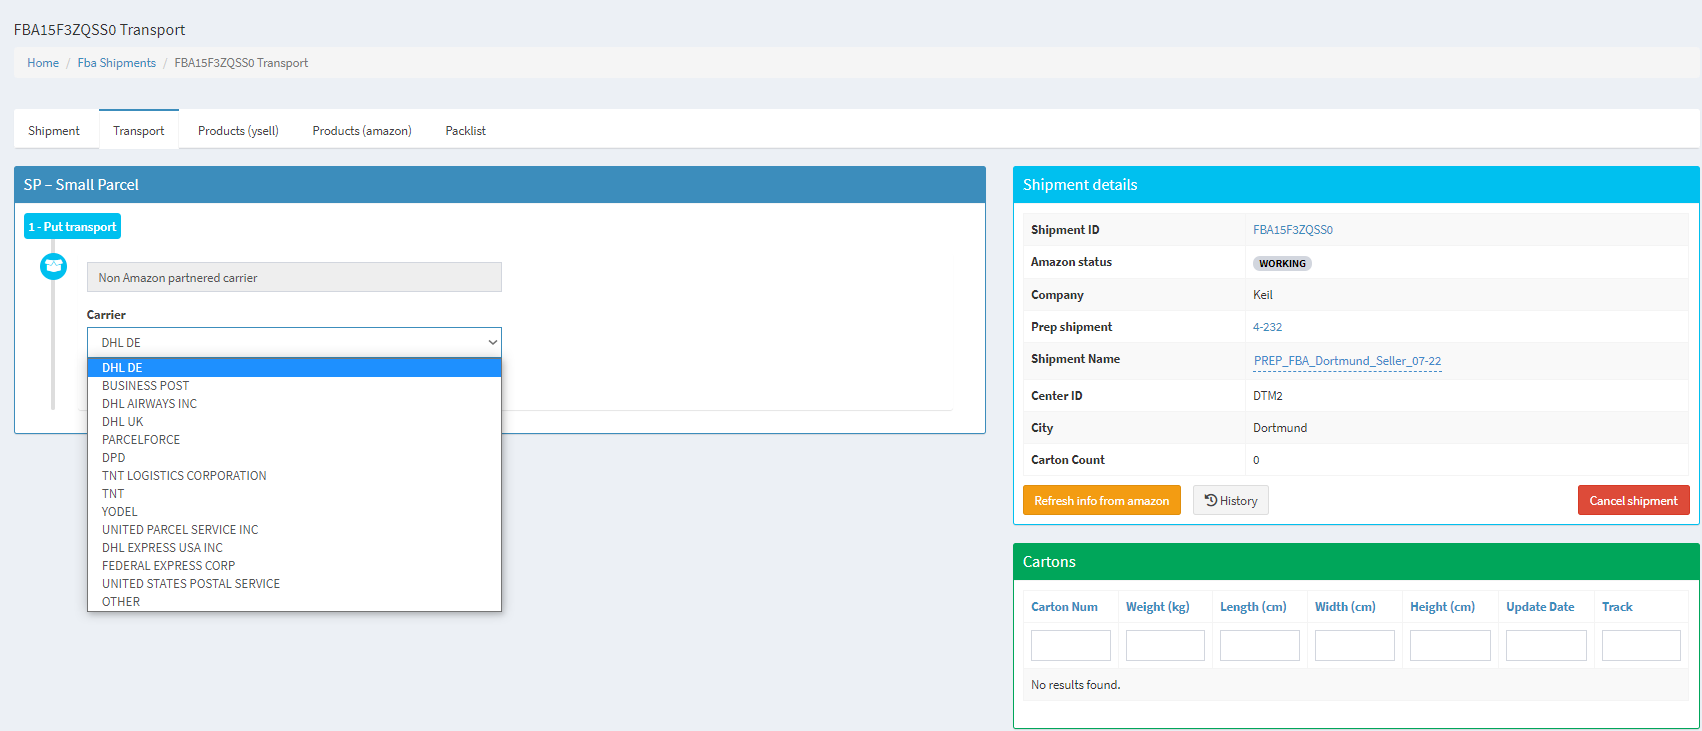
8. Specify the information about the weight and the specifications of the box with goods. After clicking on Next, specify whether the shipment is to be carried out via Amazon Partnered Carrier program, and select a carrier.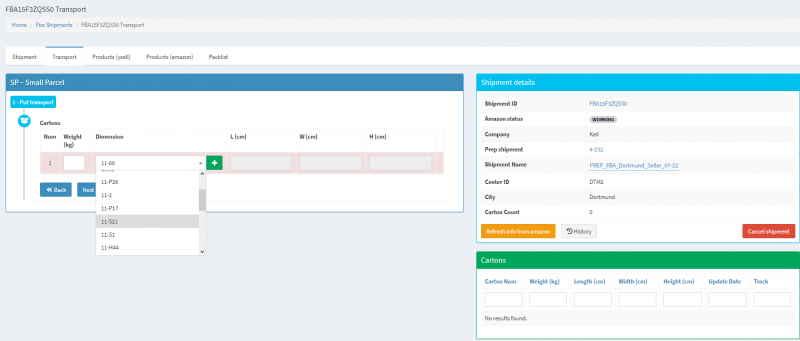

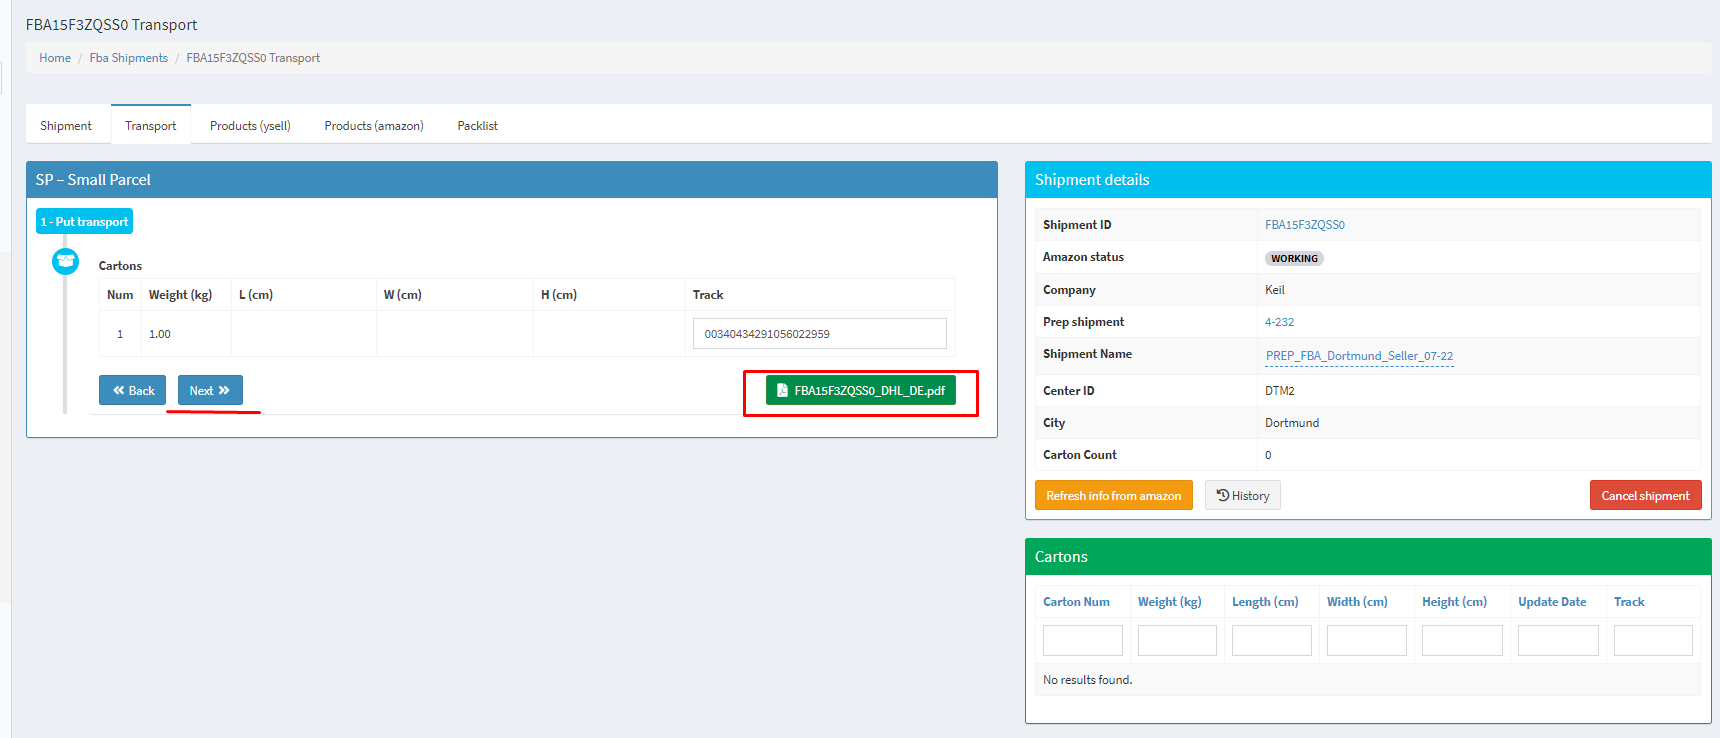
9. Print the labels for shipping. Click on Next in order to submit the shipment information to Amazon.
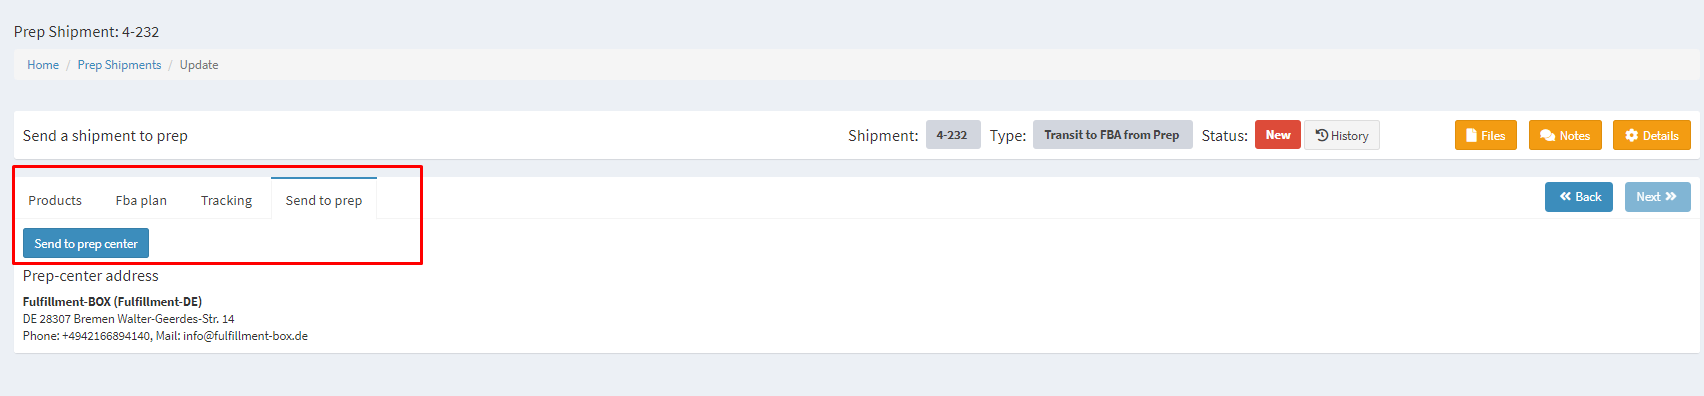
10. Send the goods to the Prep Center by clicking on Send to Prep.
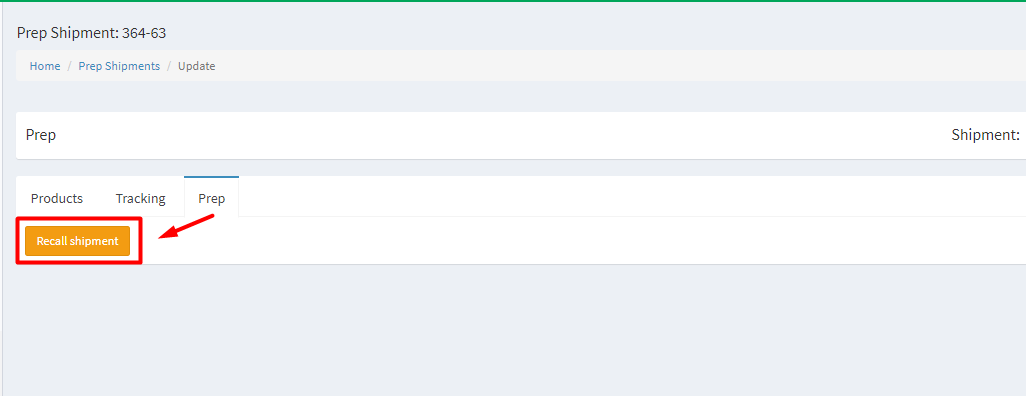
11. If you would like to make changes in the shipment after sending to the Prep Center, you need to recall the shipment first. In order to do it, open the tab Prep in the shipment and click on the button “Recall Shipment” (available only from the status Transfer). After that you can make changes in the shipment and send it again to the Prep Center.