This is an old revision of the document!
Sending goods to the warehouse
1. Go to Prep Client - Shipments .

2. Create a new shipment by clicking on Create shipment.


Fill in the shipping information
Company - Company name
Shipment type - For sending goods to the warehouse, select Send to warehouse
Prep-Center - The name of the Prep center, which will process the shipment.
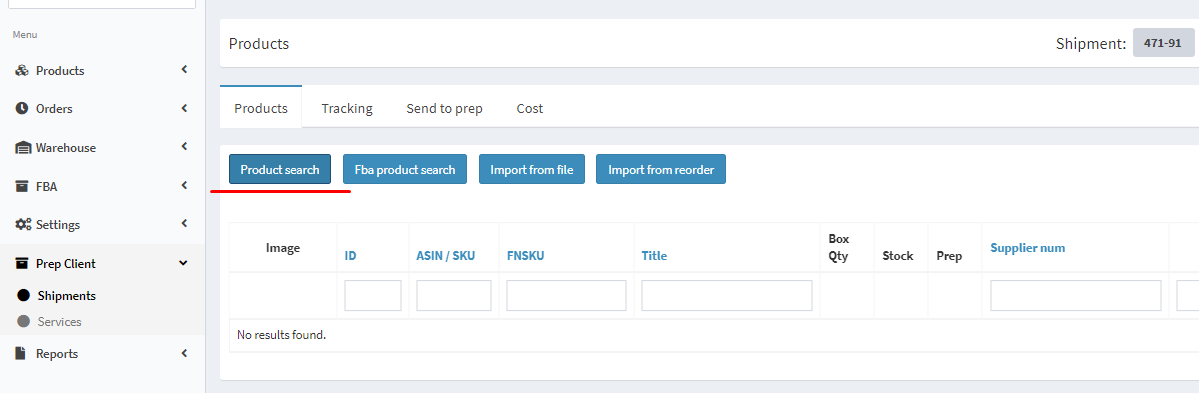
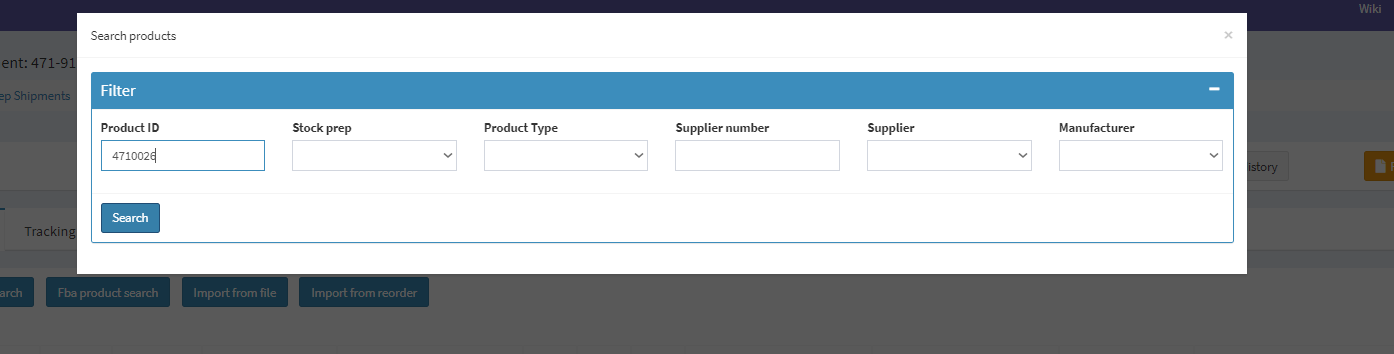
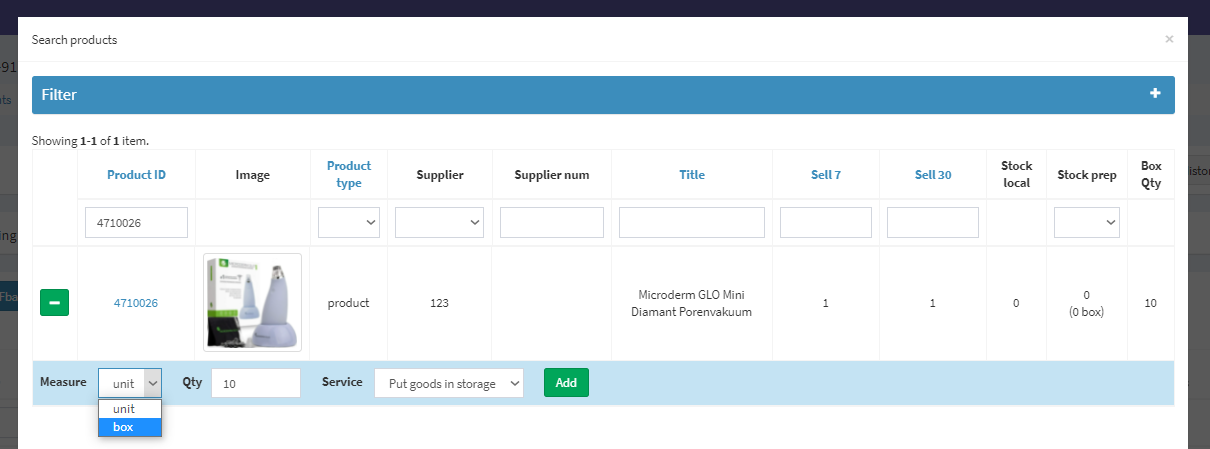
4. By clicking on Product Search, you can search for a product by its identification number.
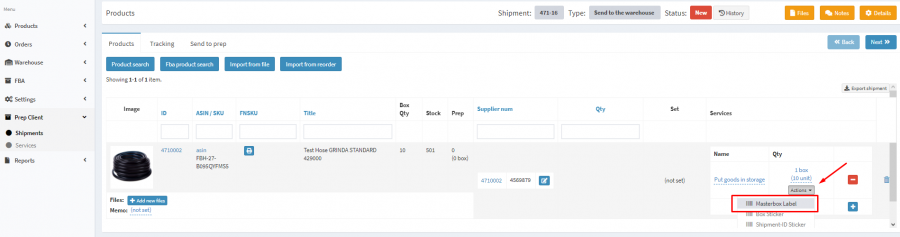
5. If the quantity of goods differs from the one specified in the Masterbox Dimensions, you need to change the quantity in the Masterbox. Select Units, then Masterbox Label.


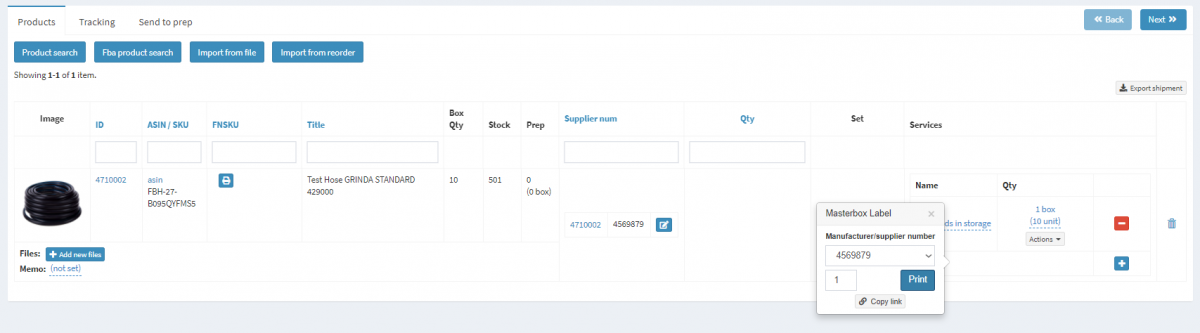
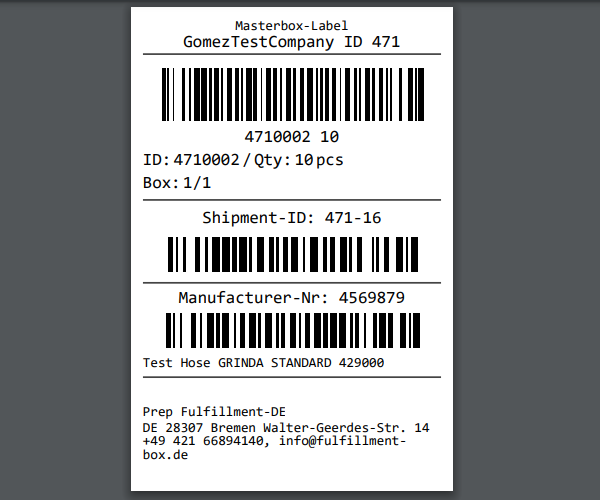
6. After clicking on Print, you will see what the resulting sticker will look like.


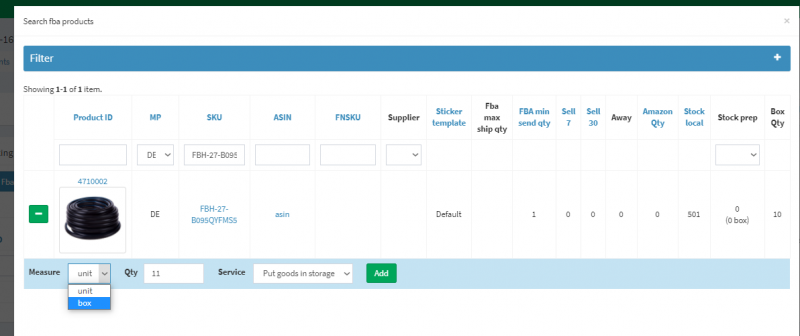
7. Add an item to your shipment. If you are going to ship barcoded boxes, select Box in the “Measure” field. The measurements of the box are specified in the Masterbox Dimensions field on the product card. Finally, select the Put goods in storage service.
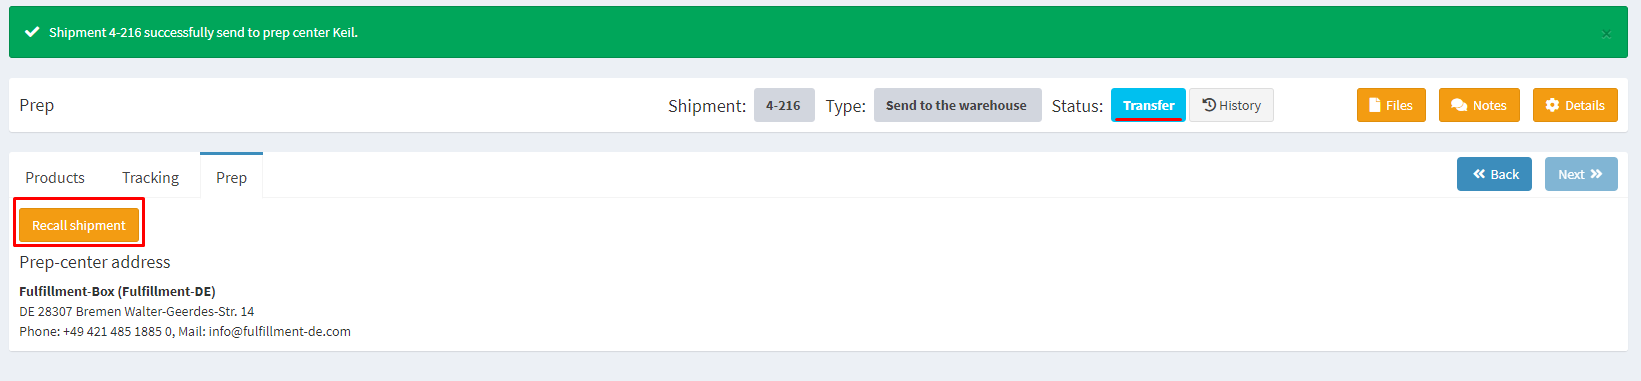
8. Initiate sending by clicking on the Send to prep tab. Select Send to prep center.

9.To edit the details of this shipment, click on Recall shipment . This option is only possible, if the shipment will be assigned the Transfer status