This is an old revision of the document!
Shipment for forwarding goods
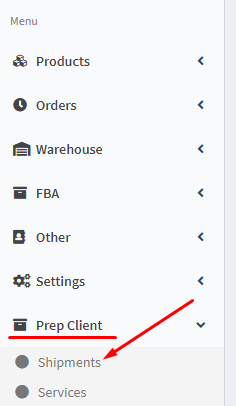
1. Go to tab Prep Client and click on the button Shipments.
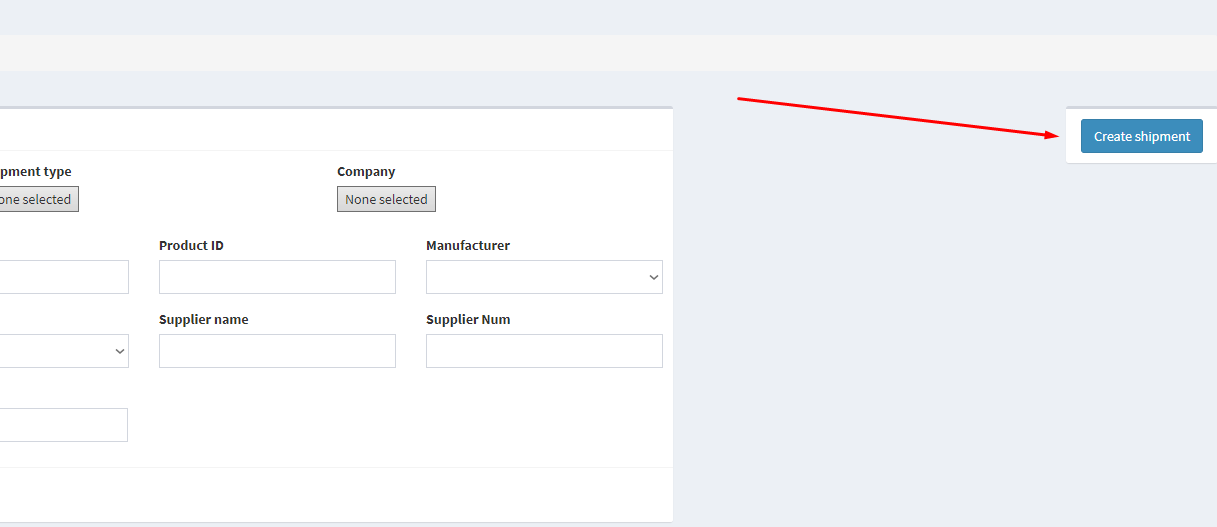
2. Select tab Create shipment. After your click, you will create a shipment.
3. You will open a tab where you will have access to one field Company, click on the button Next. You will open a tab where you will have access to one field.
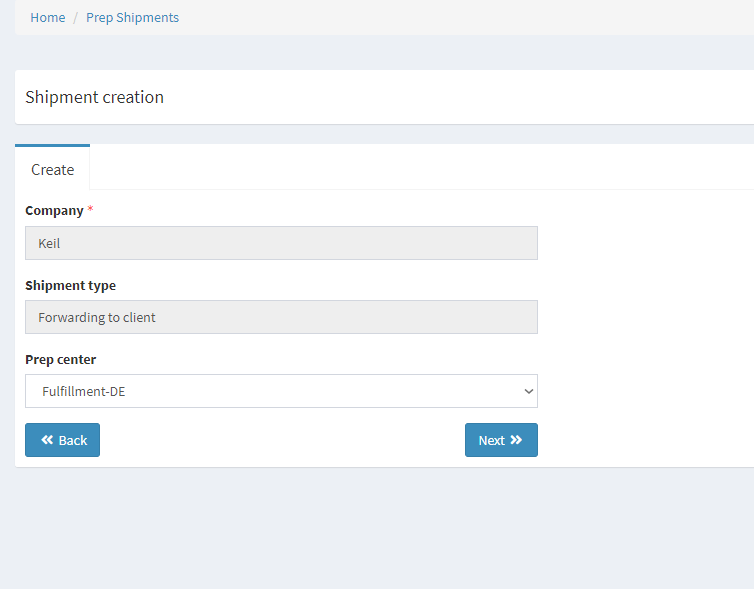
Company we enter a company that creates a shipment.
Shipment type we select Forwarding.
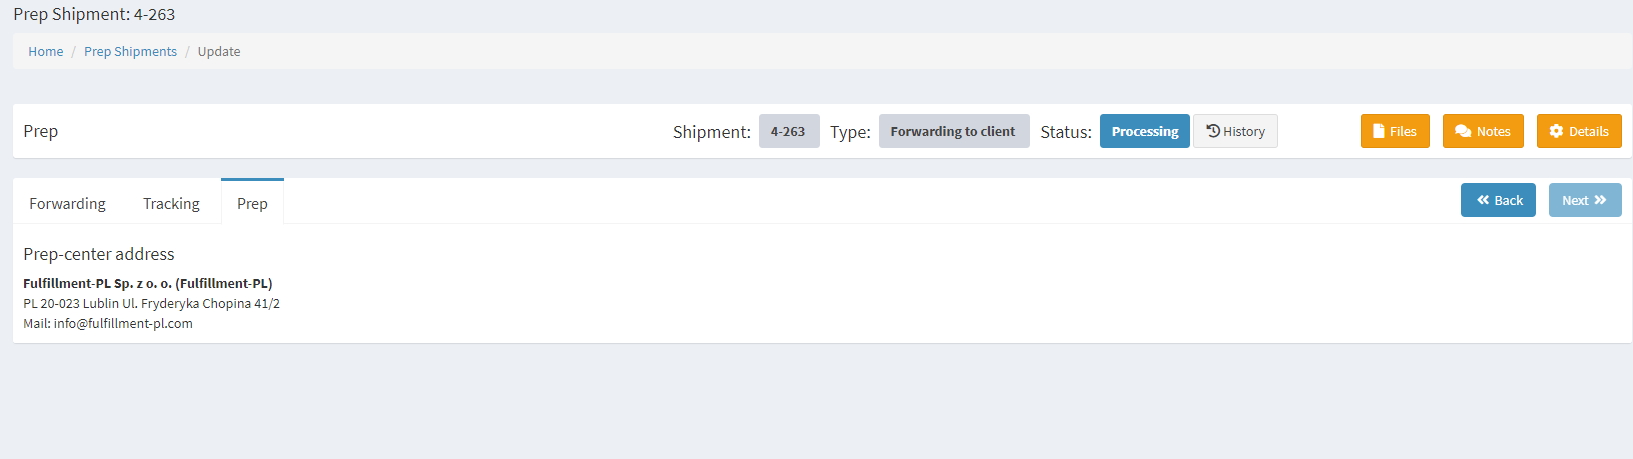
Prep center select a prep center that will handle the shipment.
Next after selecting a prep center, we will create a shipment with our number.
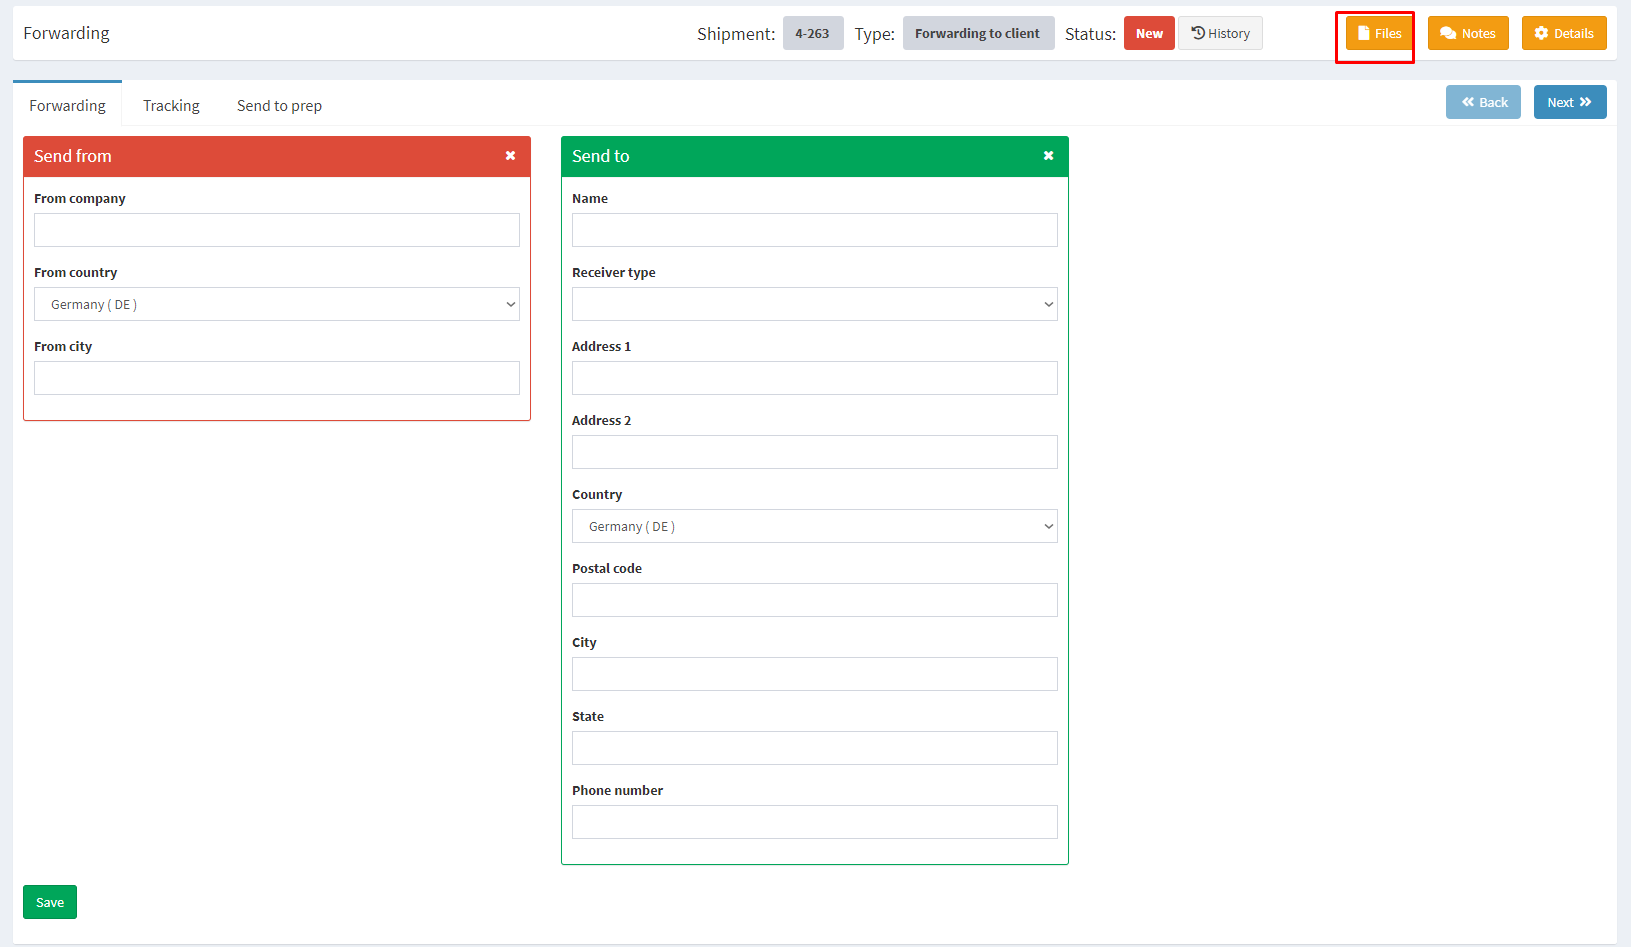
4. You need to enter information in tab Send from and Send to, important postage stamp affix to Files in the format PDF! Click to finish Save.
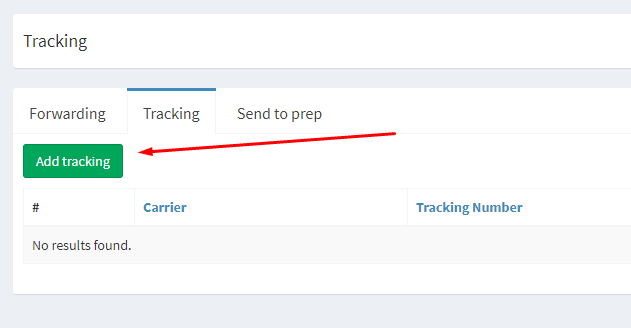
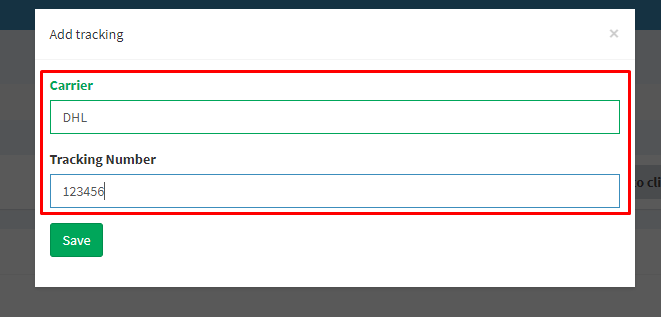
5. Next step in tab Tracking click on the button Add tracking to add a track code, after clicking, a window opens where you need to enter data about the track code. This action is required since we identify the package by this track.
6. After filling in the appropriate fields with the track code, you need to click Save to add it.
7. to finish creating the shipment, open the tab Send to prep and click Send to prep center. This will allow you to transmit information about the shipment to the prep center for processing, without this your parcel will not be processed.

8. After you have sent your shipment, he is given the status Transfer, in this status, you can return the shipment and change something in it by clicking the button Recall shipment.

9. When the prep-Center starts processing the shipment, it will set the status to “Processing” and the ability to change the shipment will disappear. After the product is processed and sent, the status of the shipment will become Closed and will be completed, you will see the tab Cost with the price for the shipment.