Dies ist eine alte Version des Dokuments!
Beginnen Sie mit dem Ysell.pro-Softwaresystem zu arbeiten
Herzlich willkommen! Die Software Ysell.pro ermöglicht die automatische Arbeit mit dem Prep Center. Bevor Sie mit der Arbeit beginnen, müssen Sie einige Einstellungen vornehmen.
1. Getting access to Ysell features
Fordern Sie die Erstellung eines neuen Prep Center-Kontos auf https://ysell.pro an.
2. Geben Sie die Zahlungsinformationen und die Adresse des Prep Centers ein
Geben Sie die Adresse des Prep Centers ein. Dieser Schritt ist erforderlich, damit das Ysell-System ordnungsgemäß funktioniert. Die eingegebene Adresse wird für die Erstellung von Rechnungen, die Erstellung von Packlisten und auch von Kunden für die Erstellung von Sendungen an das Lager verwendet.
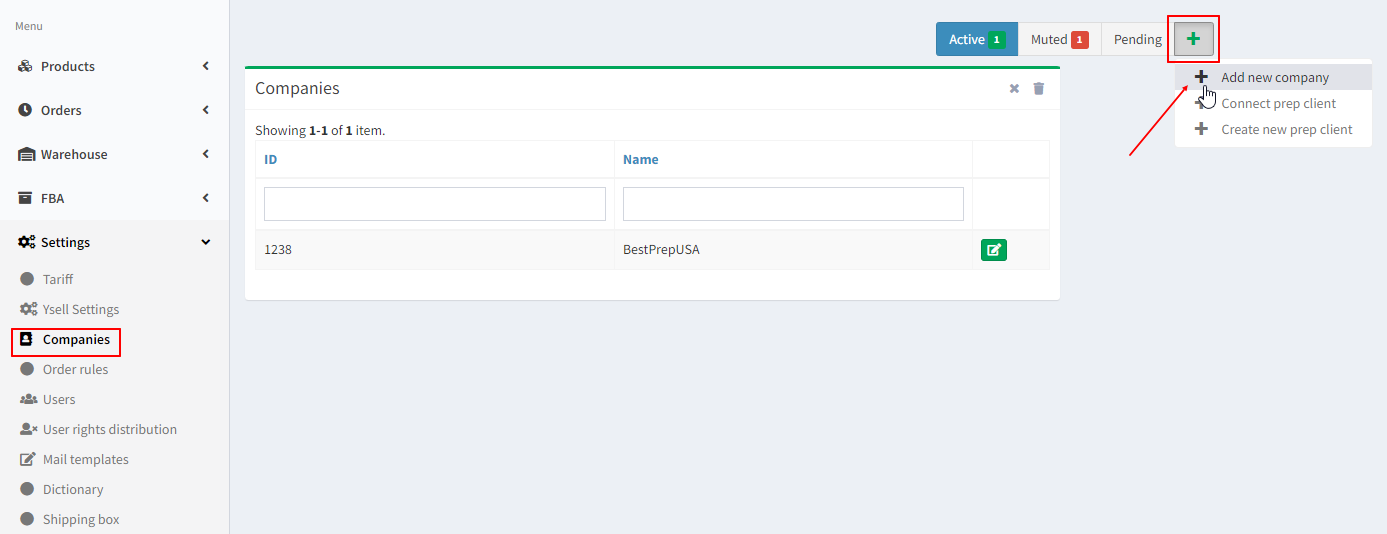
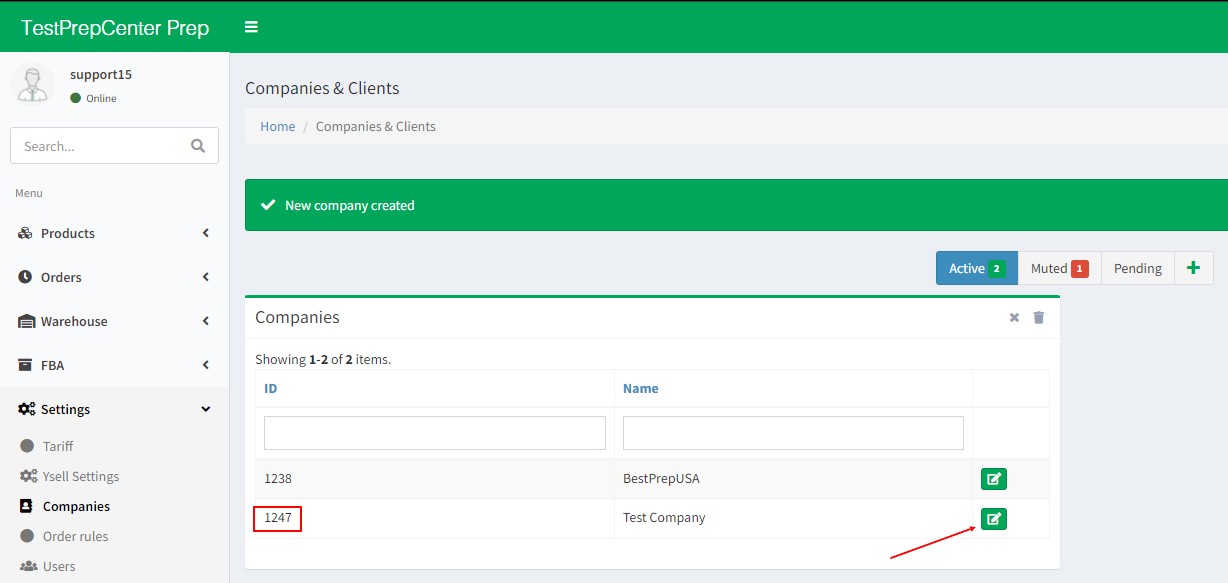
1. Gehen Sie zu Menu - Settings und dann auf Companies. Wählen Sie Add new company nach Klick auf den +-Button. Geben Sie den Namen Ihres Prep centers ein.
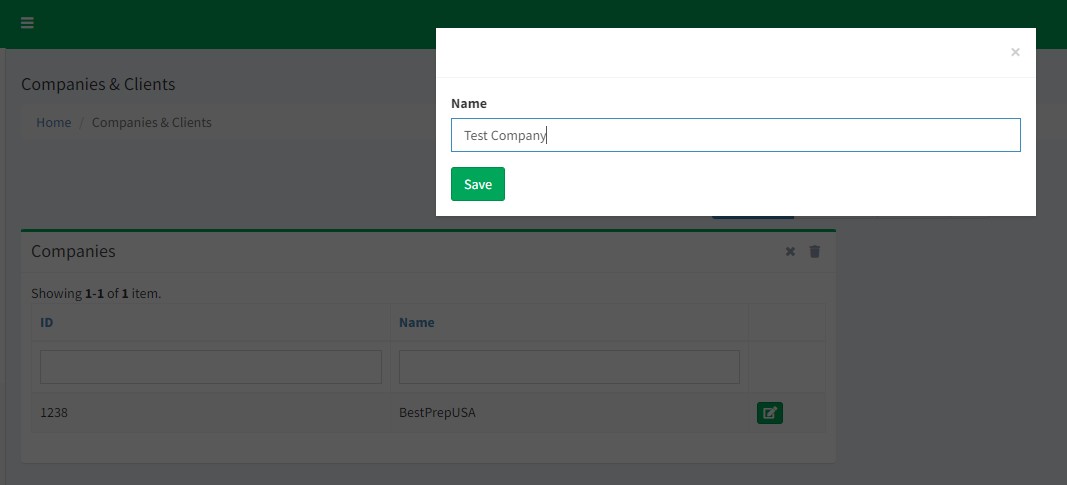
2. Das System benachrichtigt Sie über die Erstellung einer neuen Firma. Alle Unternehmen erhalten ihre eigenen IDs. Klicken Sie auf das Bleistift-Icon, um die Angaben Ihres Unternehmens zu bearbeiten. Wechseln Sie nun zum Tab Address.
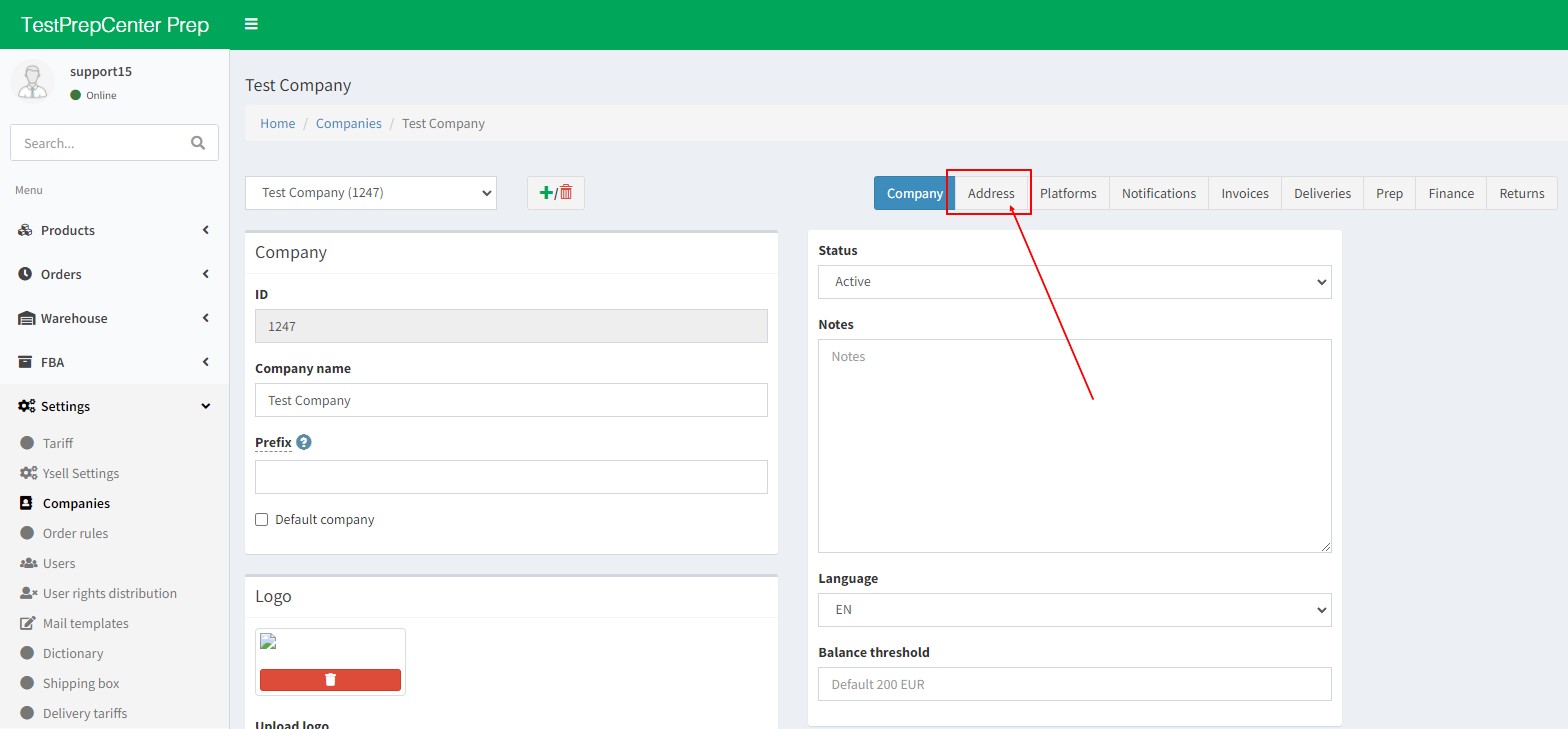
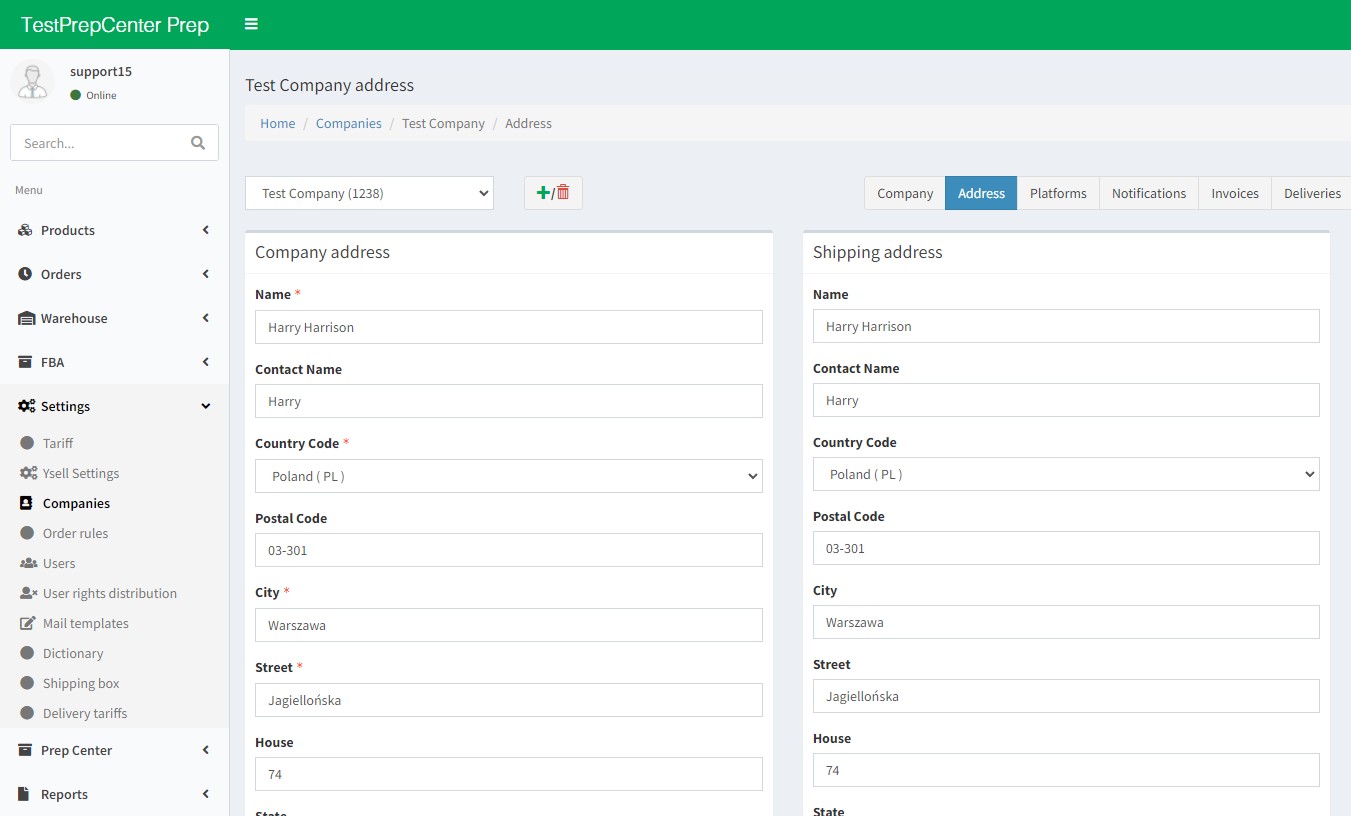
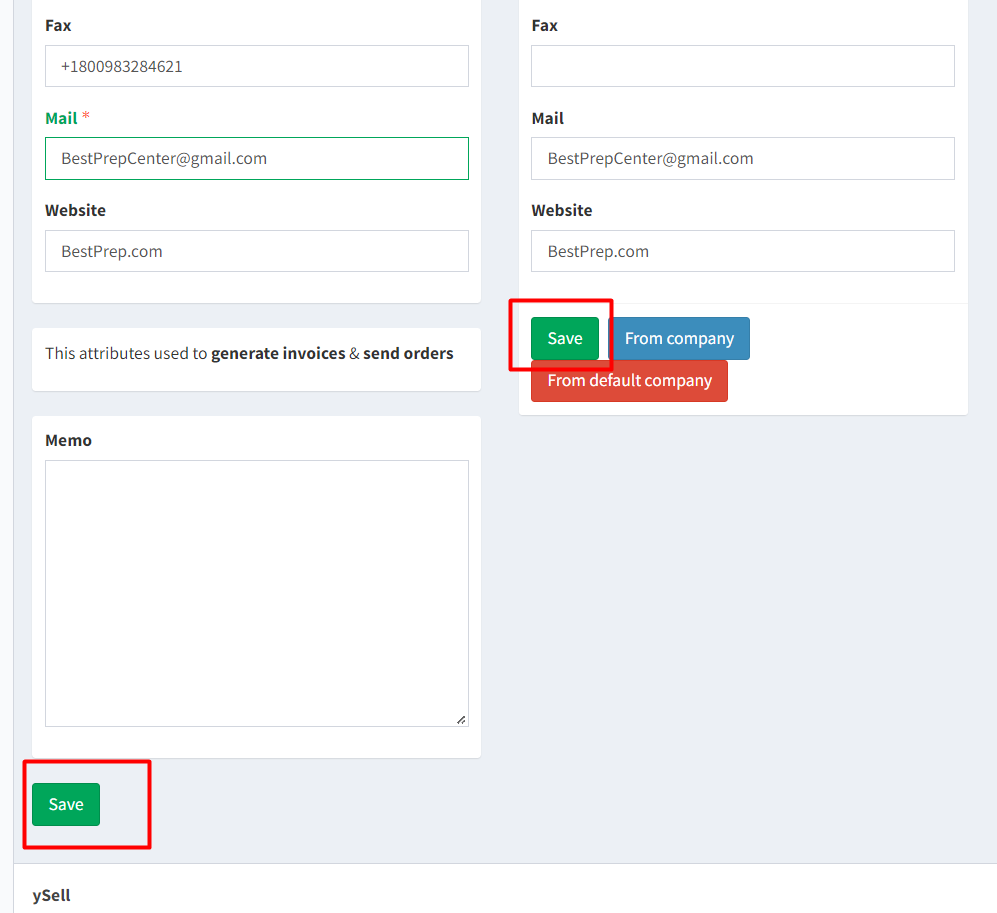
3. Geben Sie den Firmensitz in die Felder Company address ein. Geben Sie die Lieferadresse des Unternehmens in die Felder Shipping address ein. Eingegebene Angaben anschließend speichern.
Lagerplätze hinzufügen
Klicken Sie auf Warehouse und wählen Sie Create warehouse, um die Informationen zum Lager einzugeben und die Details zu den Lagerplätzen einzugeben.
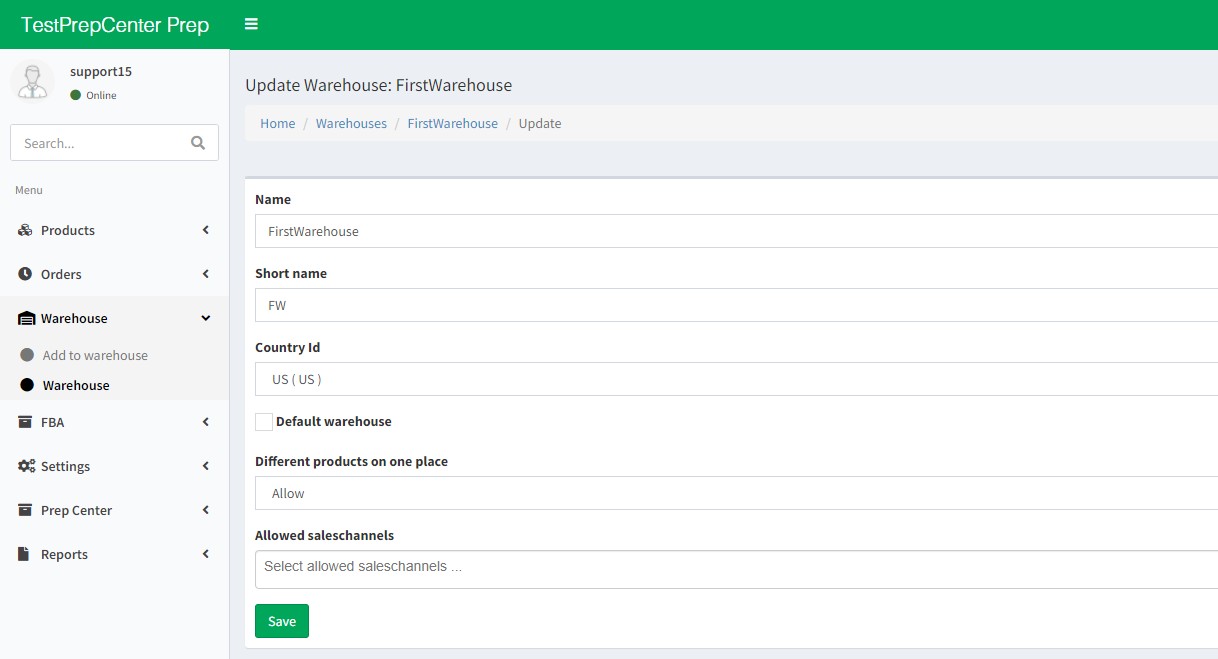
Name - Name des Lagers.
Short name - Akronym des Lagers.
Country Id - Land des Lagers.
Default warehouse - Kontrollkästchen, um das Lagers als Standard zu wählen.
Different products on one place - Ermöglicht die Lagerung verschiedener SKUs.
Allowed saleschannels - Verfügbare Verkaufskanäle für das Lager. Wenn keine ausgewählt wurde, sind alle verfügbar.
Drücken Sie anschließend Save.
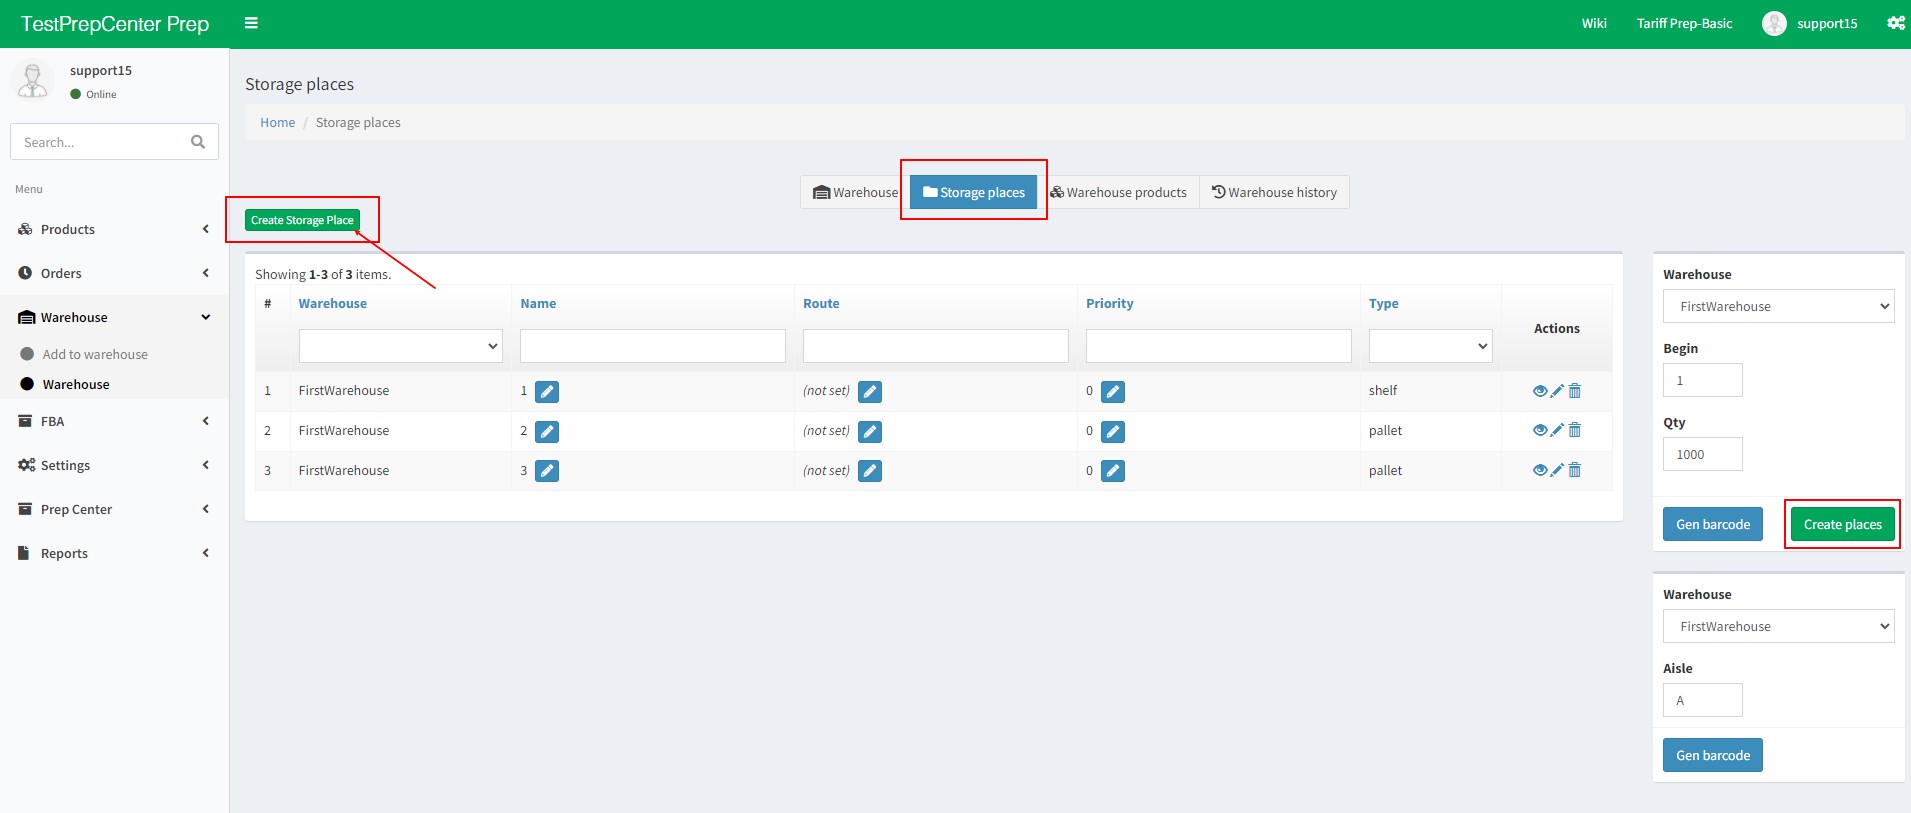
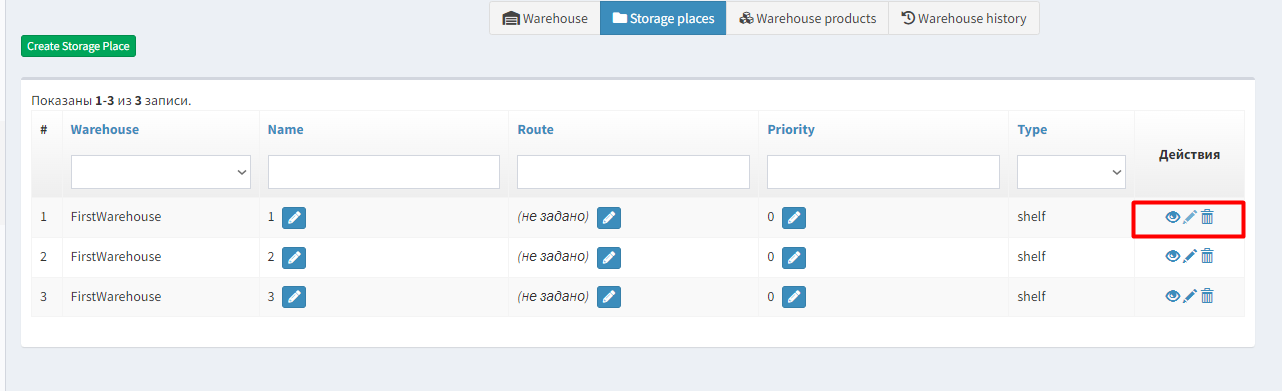
Move on to adding stockplaces. You can add stockplaces one at a time by clicking Create Storage Place and given amount at a time (Begin - it's the first number, Qty - quantity of storage places that will be created). By clicking the pencil icon go to information editing of the stocking place.
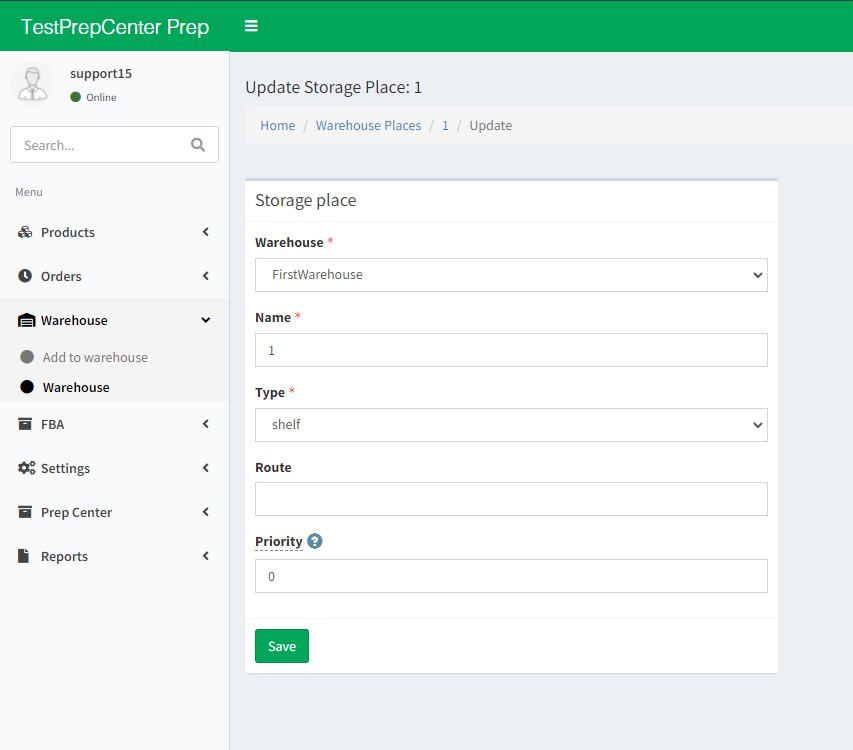
Warehouse - Select one of the previous created warehouses.
Name - Indicate the name of the stocking place.
Type - Type of the stocking place. It may be shelf or pallet.
Route - Route to the stocking place. For instance if specify the priority for shelf with number 2 instead of 5 and for another one specify with number 1 instead of 4, then route will be paved 2-1.
Priority - Specify the priority of the stocking place. If the product is in several stocking places then priority of taking it off will be with the higher priority.
Click Save
3. Services
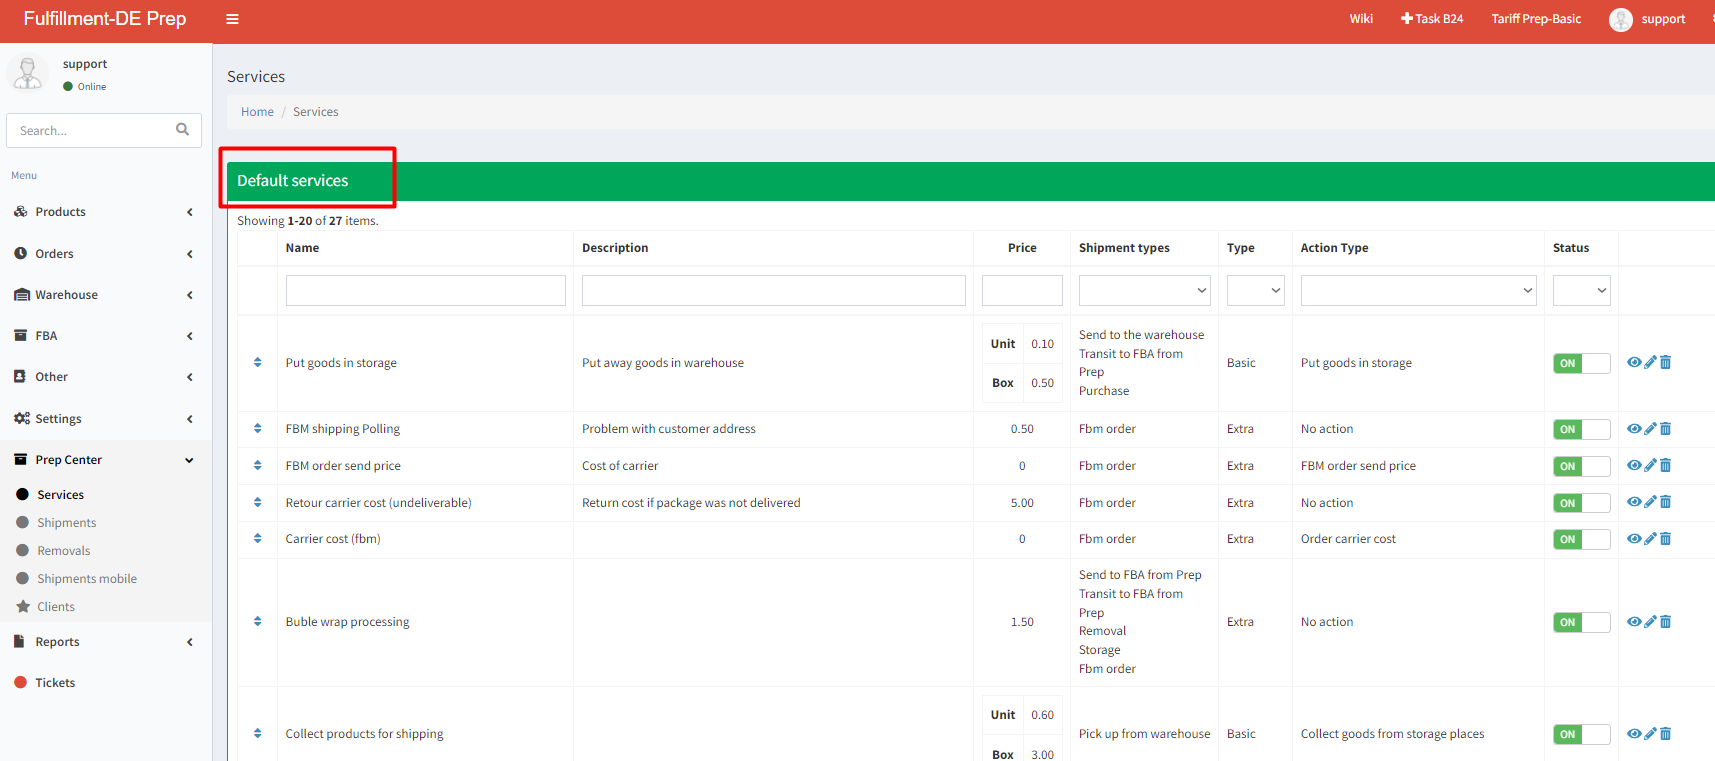
Consider list of provided for clients services by the Prep Center. Go to Menu - Services, there are list of services provided for clients by the Prep Center. For standartization we suggest default list of services to Prep Center in the Ysell.
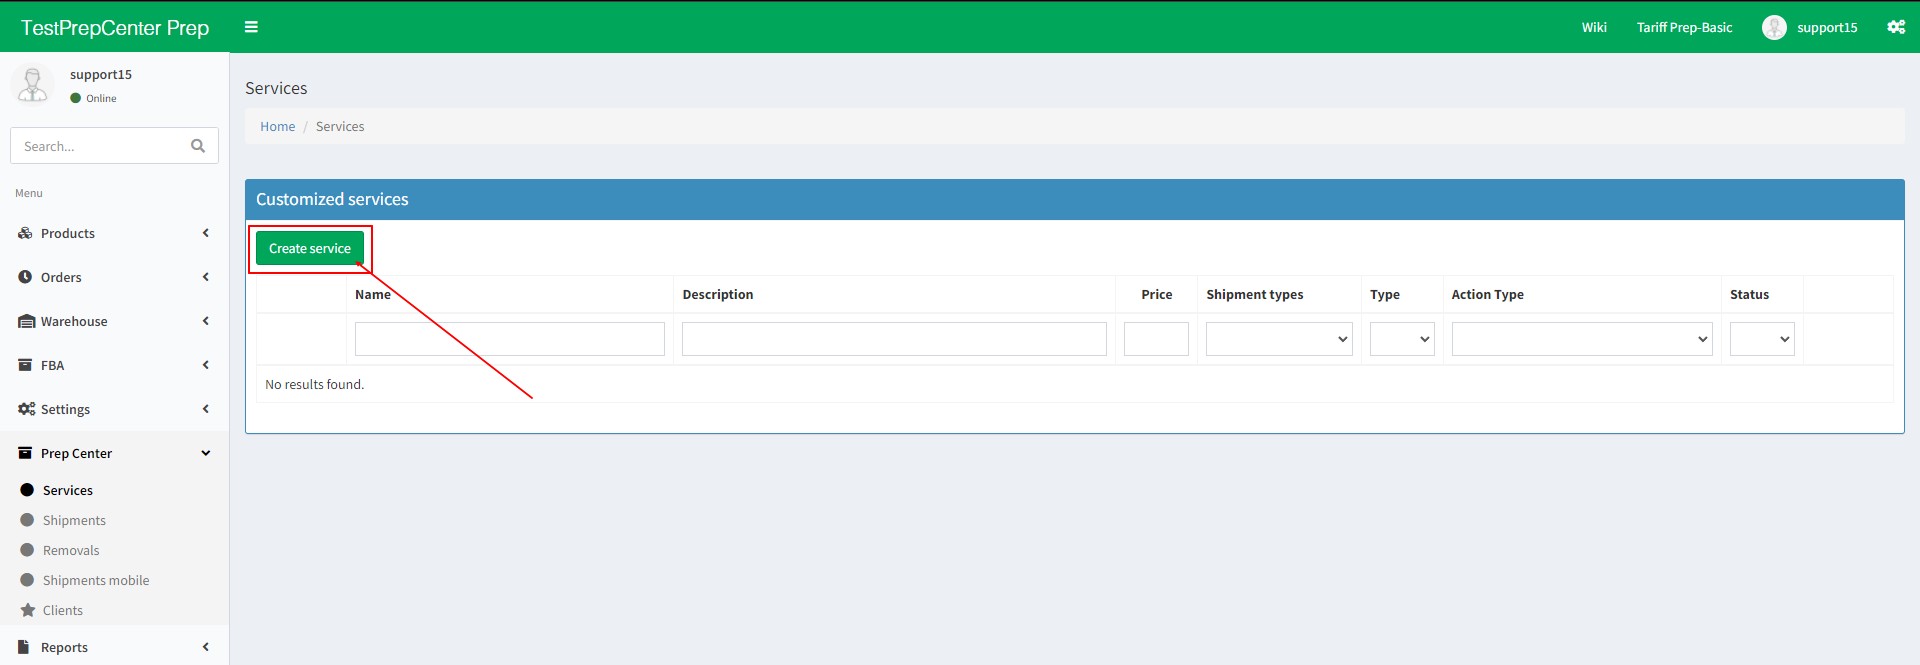
You can add your own services that will be provided to your clients.To create a service click Create Service in the Customized services block.
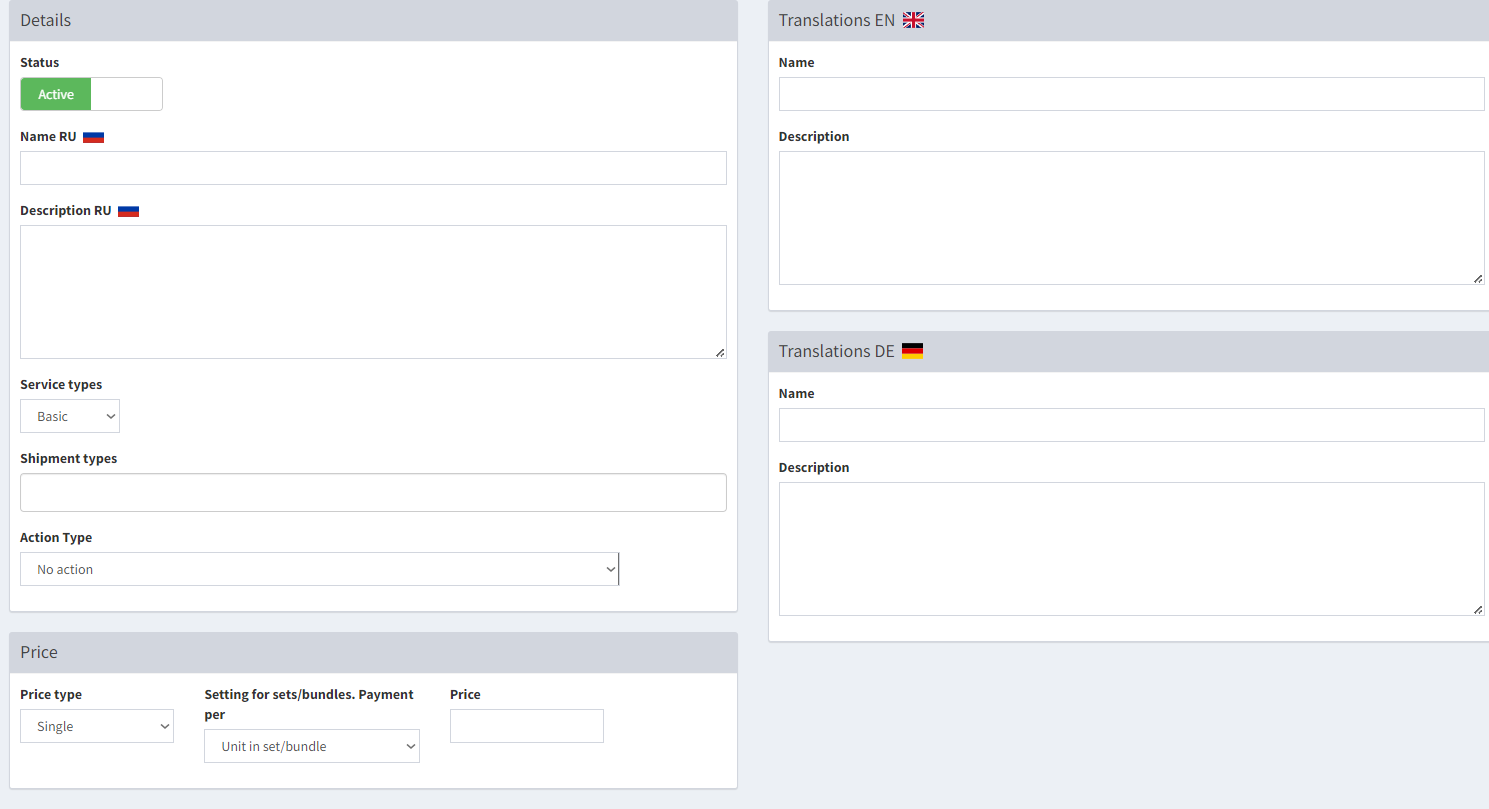
Status - Slider in the status Active shows that the service is active. Inactive means service is inactive.
Name - Specify the name of the service.
Description - Service description.
Shipment types - Types of shipments that the service is applied.
Action Type - Action that applies to the service.
Price - The price for the service indicates in this block. Price type - use single for indicating fixed price. Scale for scaling the price depending on the volume.
Setting for sets/bundles. Payment per - Option is in charge of calculation the price for sets/bundles or units.
Price - The service price. Currancy for calculation invoices sets in the settings of the Prep center
Click Save
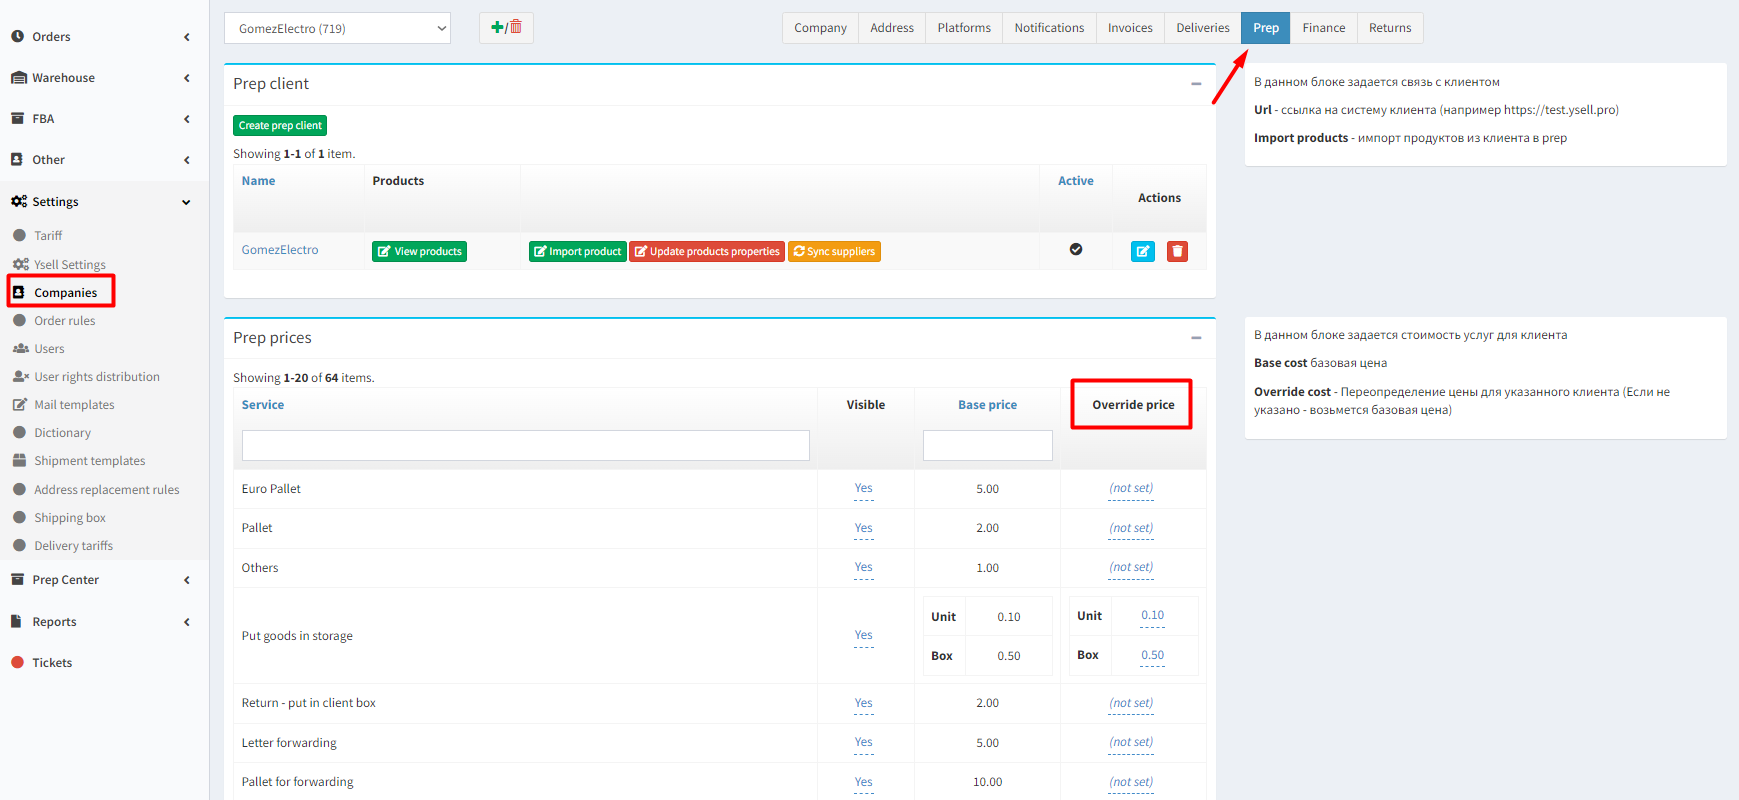
To indicate individual price for a client, go to Settings and select a company of the client and go to the Prep tab. Edit price for the service in the Override Price column.
4. Creating a client account from the Prep Center
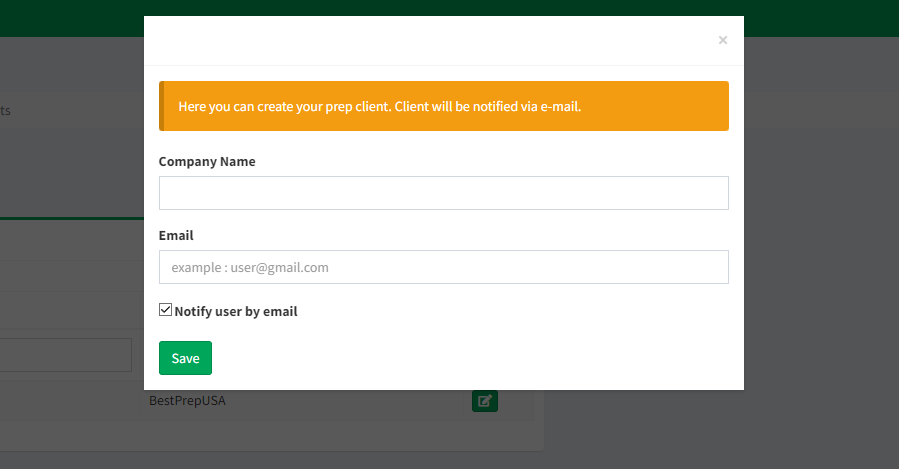
You can create client accounts yourself in the Ysell. Go to Settings-Companies to create a new client account. After clicking the pencil icon select Create new prep client

Enter the email and a name of the company. Ticking the box Notify user by email will notificate the client about creation account by email.
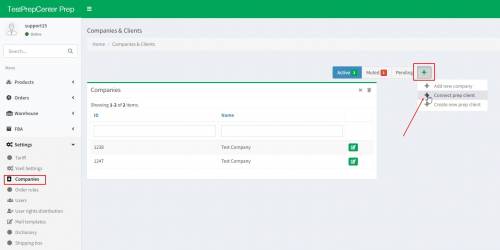
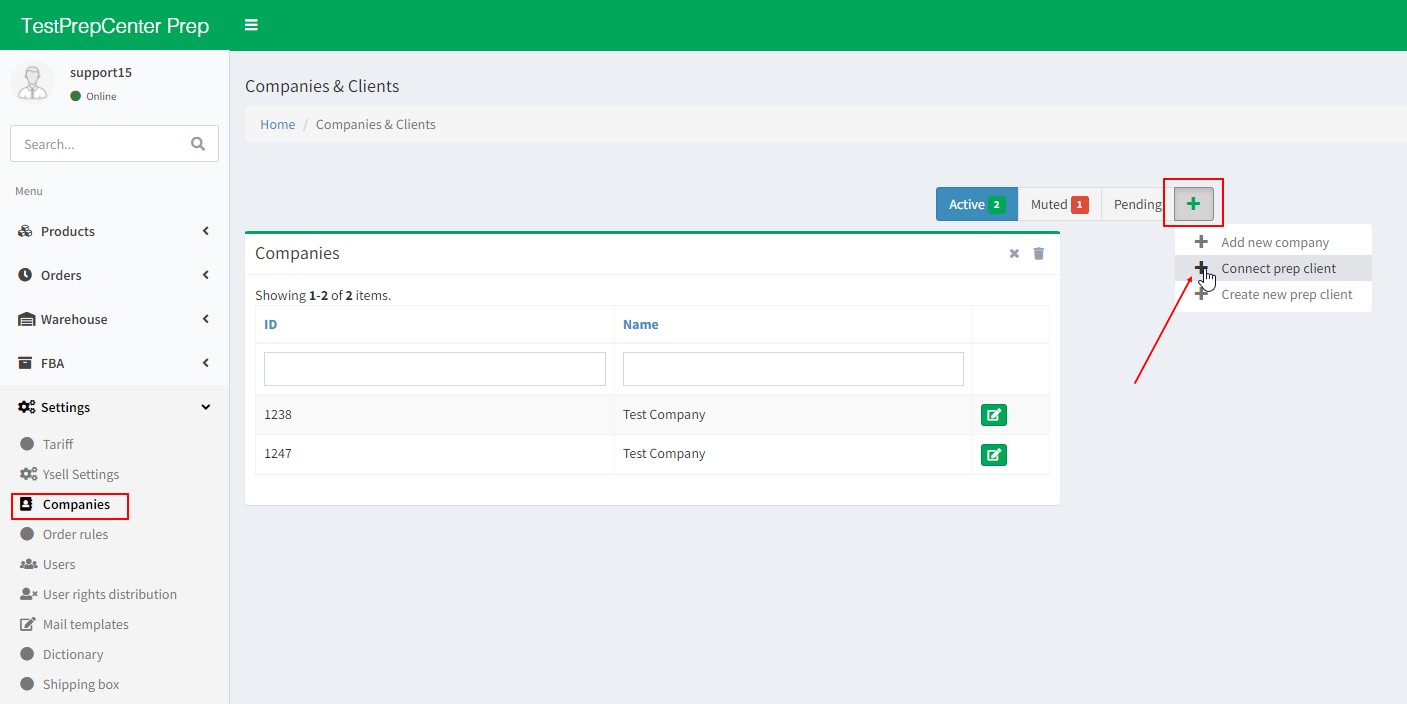
5. Connection a client account with the Prep Center
To connect an already created client account to the Prep Center, go to Settings-Companies. Click +, select Connect prep client and enter the client ID you want to be connected.