Invoice Generation for Rendered Services
In this guide, we will take a detailed look at the process of invoicing in the Ysell.pro system for Prep Center clients. An essential part of this process is correctly setting the financial status for processed shipments, as well as creating an order necessary for invoice generation.
Before creating an order, it is essential to ensure that the correct financial status is assigned to processed shipments. In this guide, we will explain how to correctly set this status and create an order that will serve as the basis for an invoice.
Shipment Financial Status
In Ysell.pro, it is crucial to set the financial status of shipments correctly for invoicing clients for delivery. This status determines when shipments can be invoiced to the client. There are three financial statuses available in the system:
Controlling: This status means that the shipment is under control. At this stage, all data is checked and confirmed before invoicing the Prep Center client.
Ready to bill: If a shipment is in the “Ready to bill” status, it means that all necessary processes and preparations are completed. The shipment is ready for invoicing the client.
Closed: When a shipment is in the “Closed” status, it means that all tasks and operations related to the shipment are completed. The invoice has been issued, and the shipment is considered completed.
Please note that the Prep Center client only sees the shipment processing status (Transfer/Processing/Ready to ship/Done). The financial status is used for order formation, necessary in the invoice creation process. This status determines when the shipment can be invoiced to the client and when the invoicing process is completed. In the following sections of the guide, we will explain in detail how to manage shipment financial statuses.
Managing Shipment Financial Status
Setting the correct financial status ensures efficient invoicing and control over processes.
Setting the Financial Status in the WMS Ysell.pro is done manually or automatically. The financial status of Controlling is automatically assigned when the Done or Ready to Ship statuses are set, ensuring preparation for invoicing.
To set the financial status of a shipment manually, go to the Shipments page in the Prep Center section. Select the relevant shipments, then go to the “Change finance status” section by clicking on Actions. Choose the appropriate status and confirm the changes by clicking Change statuses.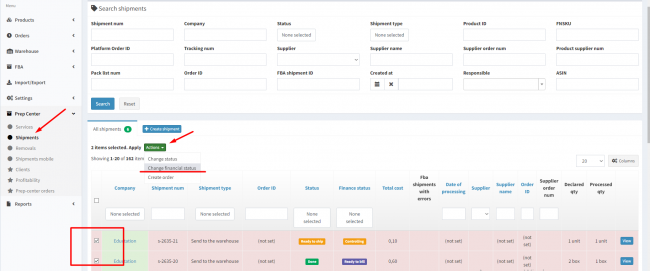


Invoicing the Prep Center Client
Once the financial status of the shipment is set, you can proceed to create an order for invoice generation:
To invoice shipments, go to shipments in the Ready to bill status, and select those for which you need to create an invoice. Click Actions - Create Order. Choose the company on behalf of which the invoice will be created and specify the billing period in the Billing period field. Click Yes to generate an invoice for the selected shipments.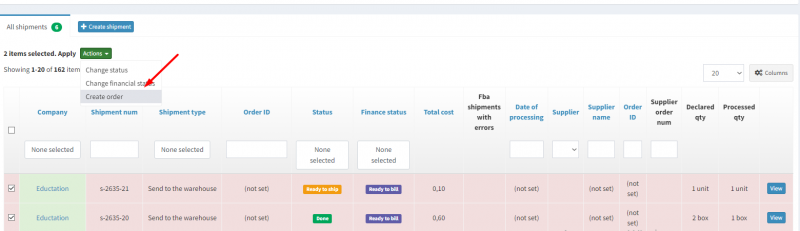


By selecting shipments in the Ready to bill status for which you need to invoice the client, the system generates an order using the client's company data. When creating the invoice, the order reflects the services related to the previously selected shipments.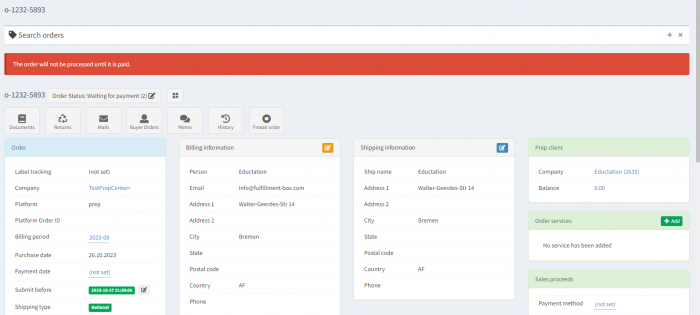


Go to the Sales proceeds section. Select your preferred payment method by clicking on Payment method. To deduct the funds deposited by the client in advance, select Balance as the payment method. Clicking on Pay From Balance will deduct the shipment's cost from the client.

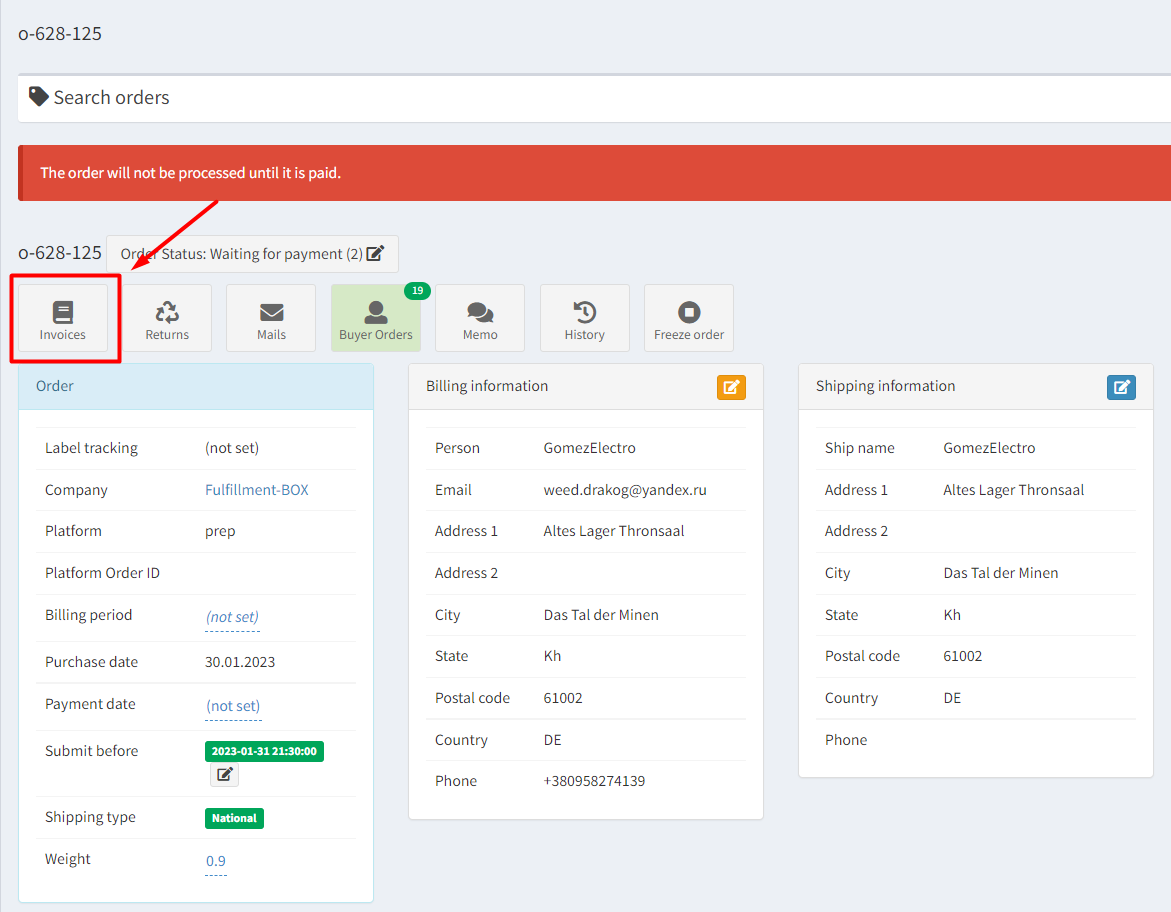
After deducting funds from the client's balance, the order will change to status 7.1. The invoice for payment of the order is available by clicking on Invoices.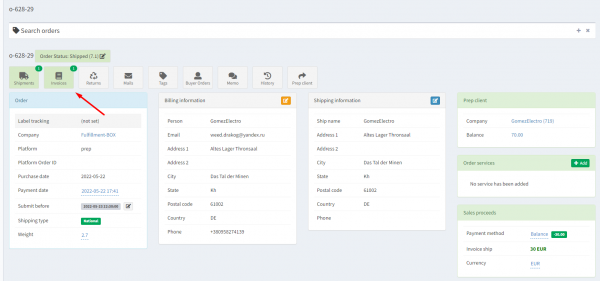


To generate an invoice for payment, select Invoice as the payment method in Sales proceeds. Create the payment invoice by clicking on Invoices - Create Invoice.


After the client has paid the issued invoice, specify the Payment date in the line. The order status will change to 7.1.

Information about the invoices issued to clients, their payment status, and the amount of funds prepaid is available on the customer's company card in the Finance section.

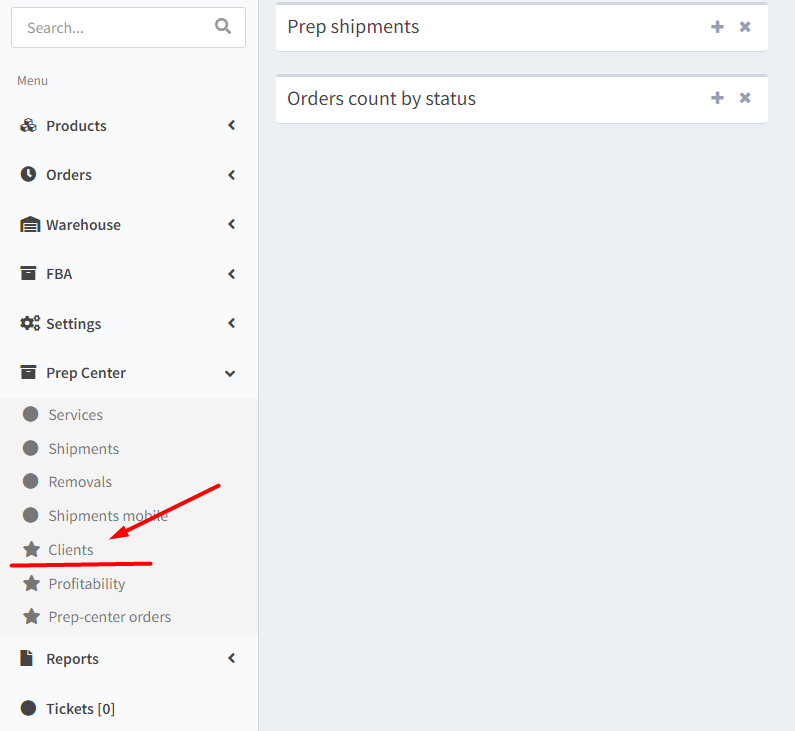
Invoicing via Prep Center - Clients
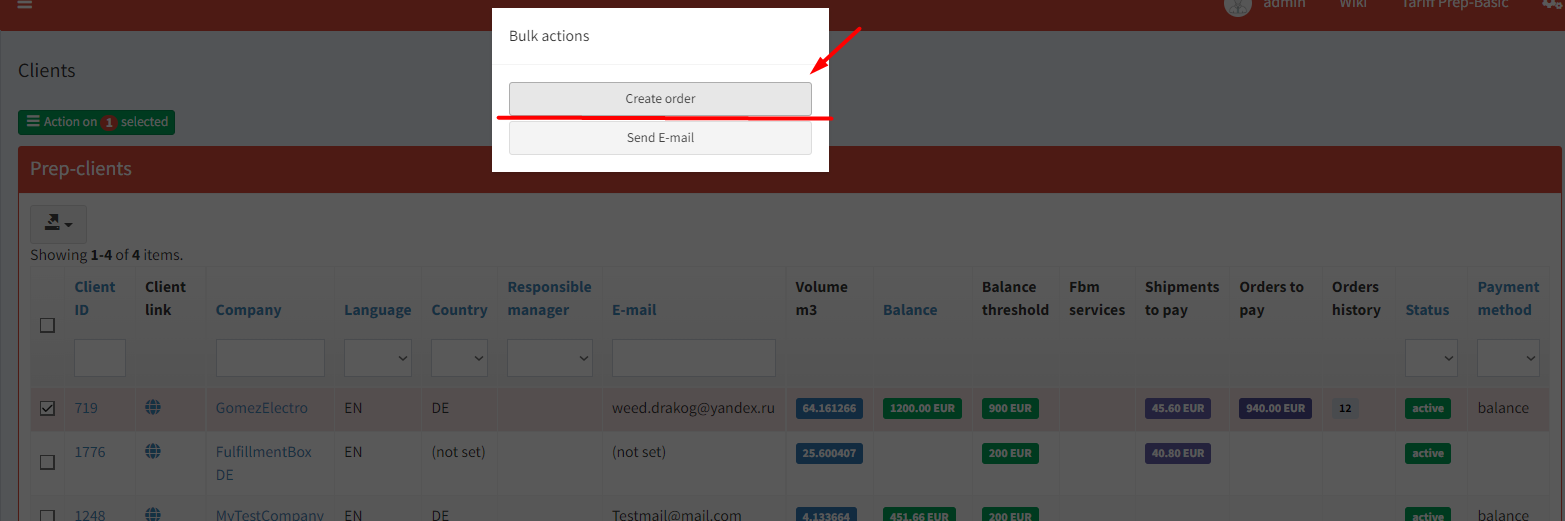
Go to the Prep Center - Clients section. Check the box for the Prep client for whom you need to create an invoice in the system. Select group actions by clicking on Actions on Selected.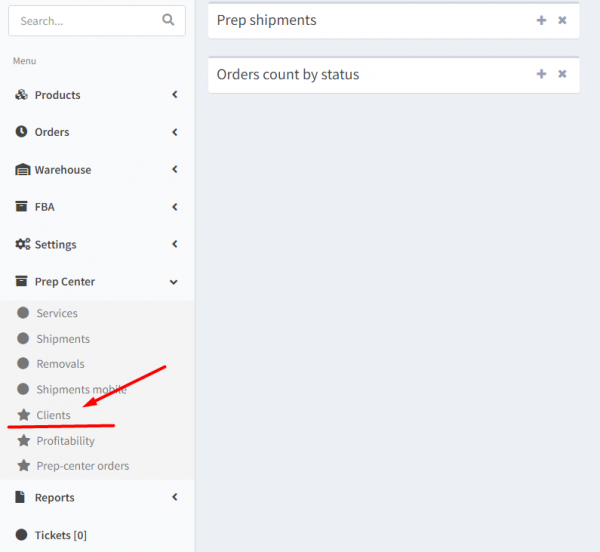
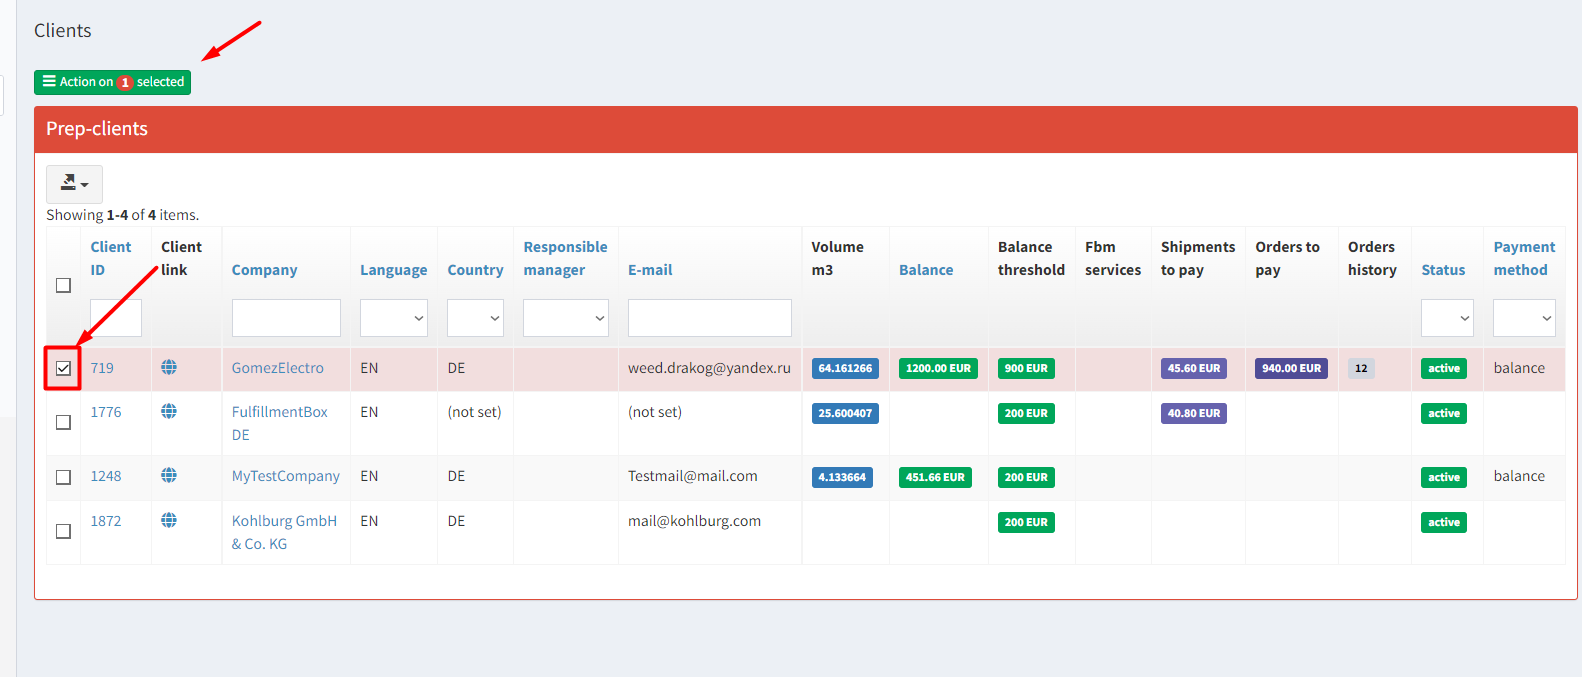
Select Create Order from the menu. The system will create a Prep order for the selected client.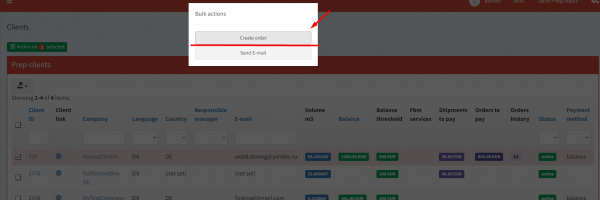

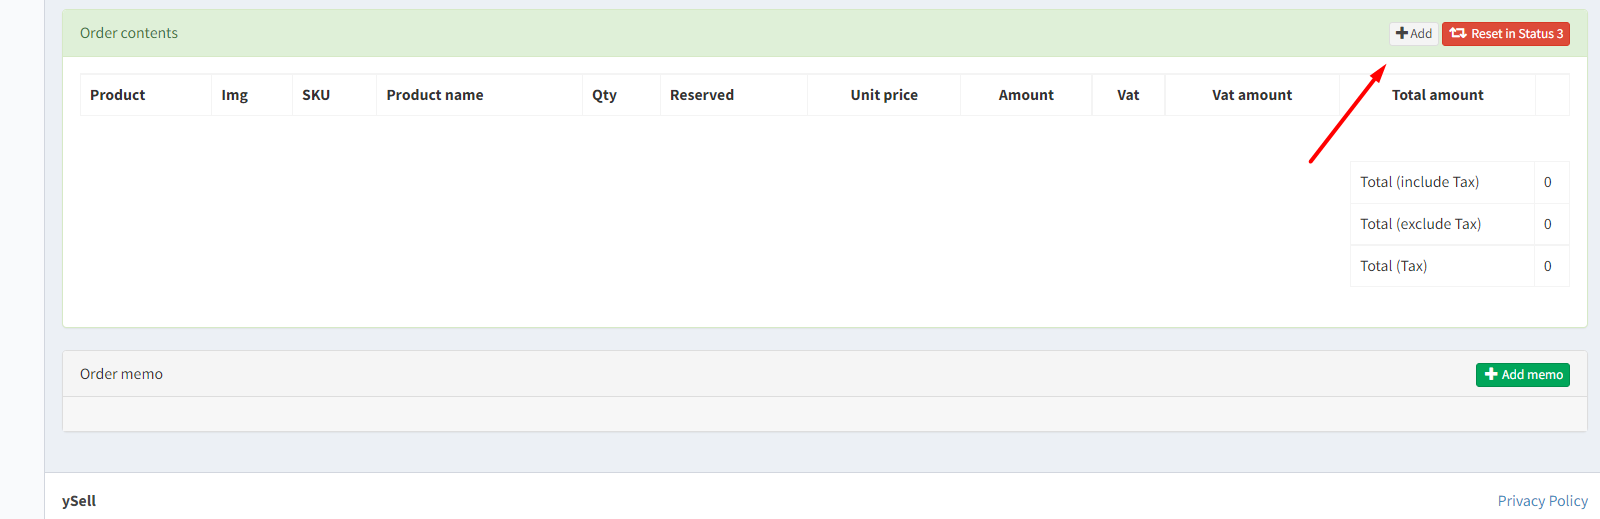
Add items to the order by clicking on Add in the Order Content section. Specify the Title as the name of the service or product for which the system will issue an invoice. In the Unit Price line, specify the cost. Qty indicates the quantity of units of the product or service.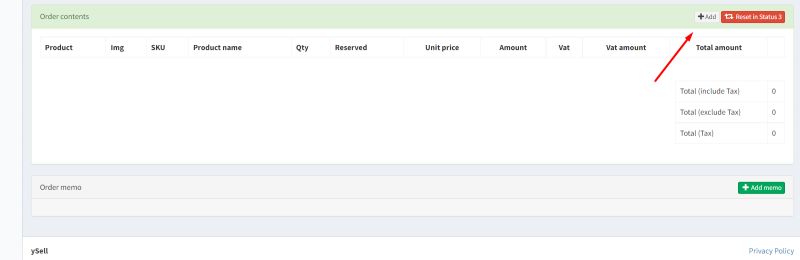

Generate an invoice by clicking on Invoices - Create Invoice.