This is an old revision of the document!
Sending goods from the warehouse to Amazon
1. Go to Prep Client - Shipments .

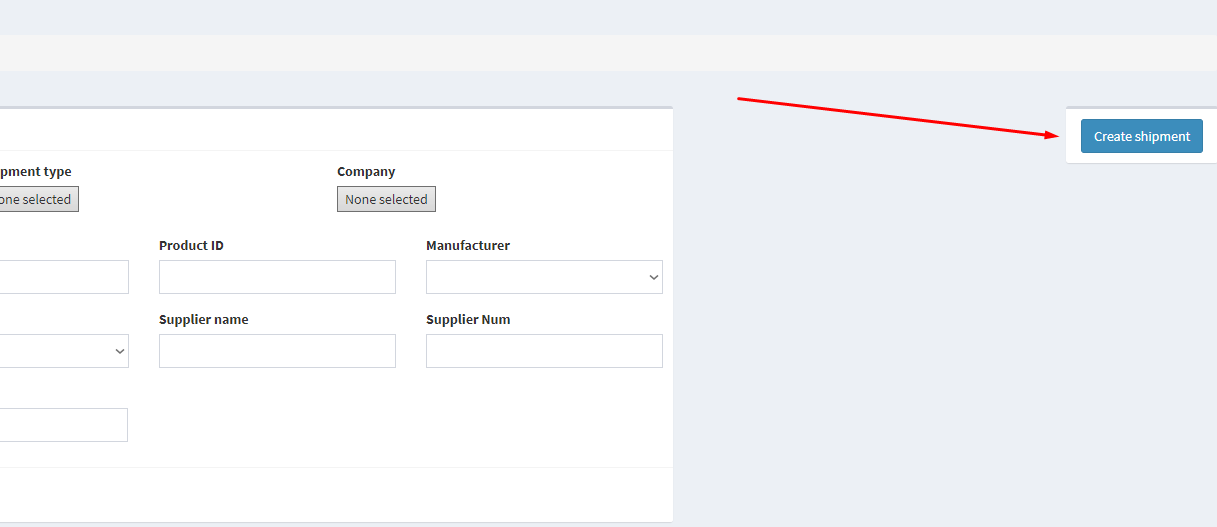
2. Create a new shipment by clicking on Create shipment .
3. Fill in all the required fields:

Fill in the shipping information
Company - Company name
Shipment type - CHoose Send to FBA from prep
Prep Center - The name of the prep center, which will process the shipment.
Who creates FBA plan - Indicates who creates the FBA plan. This can be done using Ysell or directly from Amazon.
Ship to country - Select the country in which the Amazon warehouse is located.
Reset FBA plan qty - Check the box to bypass the sending limits to Amazon.
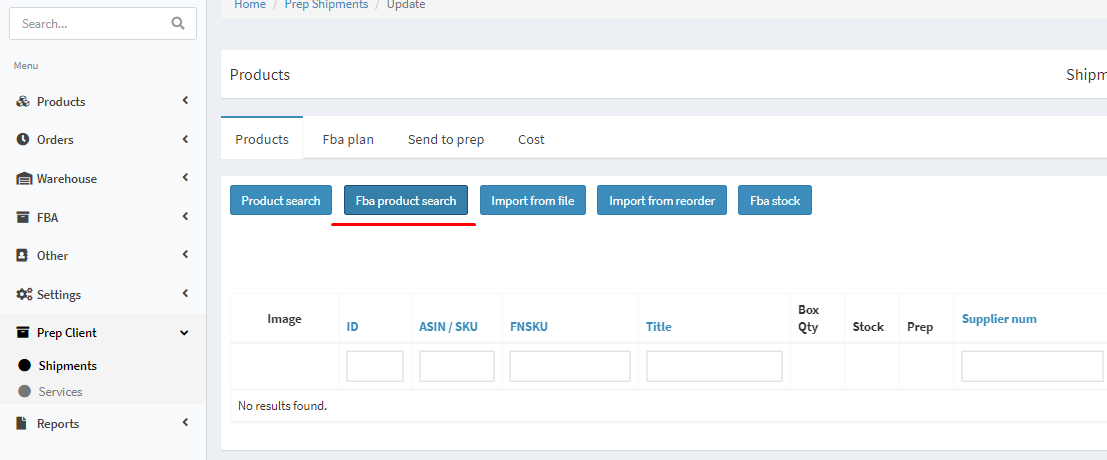
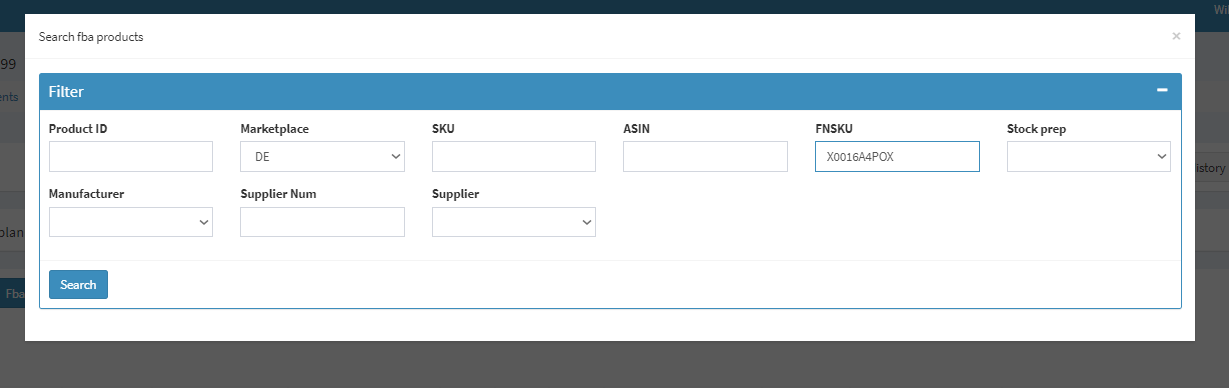
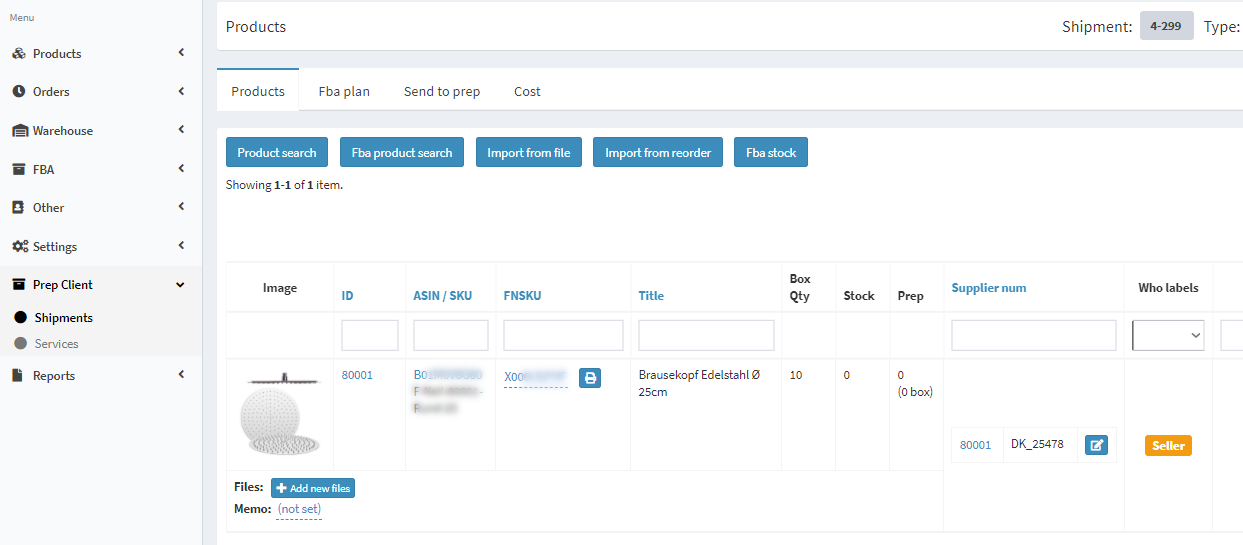
4. Click on FBA product search, to search for a product by its SKU / FNSKU / Asin
5. Add an item to your shipment. Indicate the service that the Prep center will perform when preparing the goods.

6. If there are boxes with a label including a barcode, the system will offer to send Masterboxes

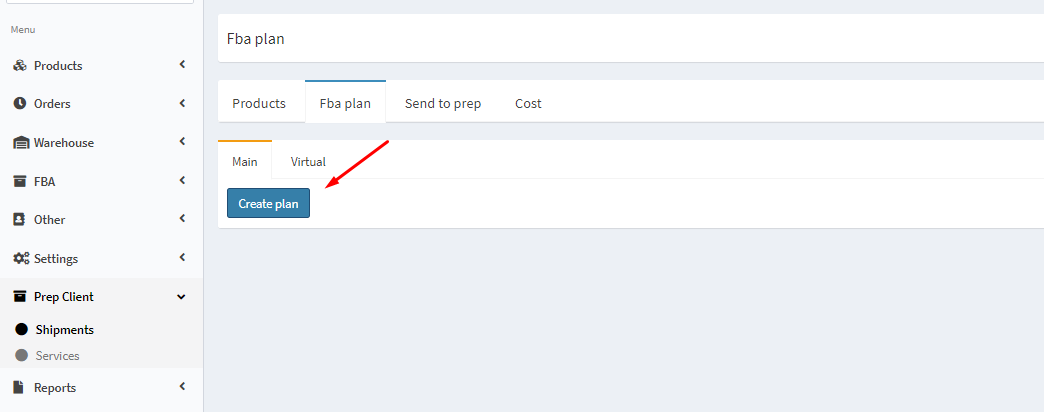
7. Proceed to create an FBA plan. Select the FBA plan tab. Click on Create Plan to initiate the creation of an Amazon shipping plan
8. Detailed information on shipping to Amazon is available by clicking on Expand. Create Shipment creates a shipment to Amazon.

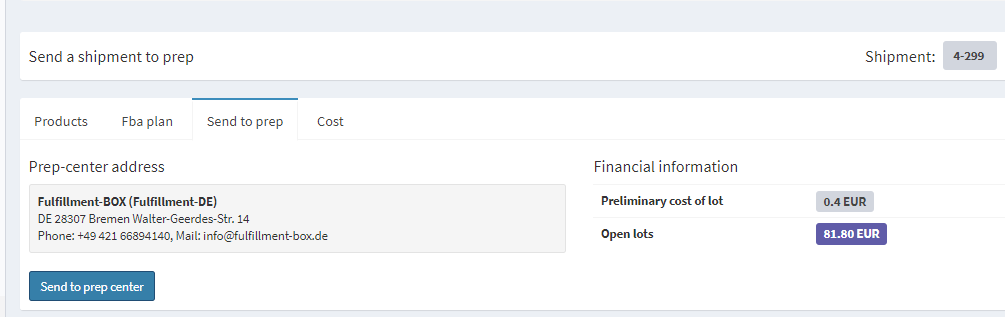
9. Go to the Send to prep tab and click on Send to prep center. The financial information field displays the estimated shipping cost.
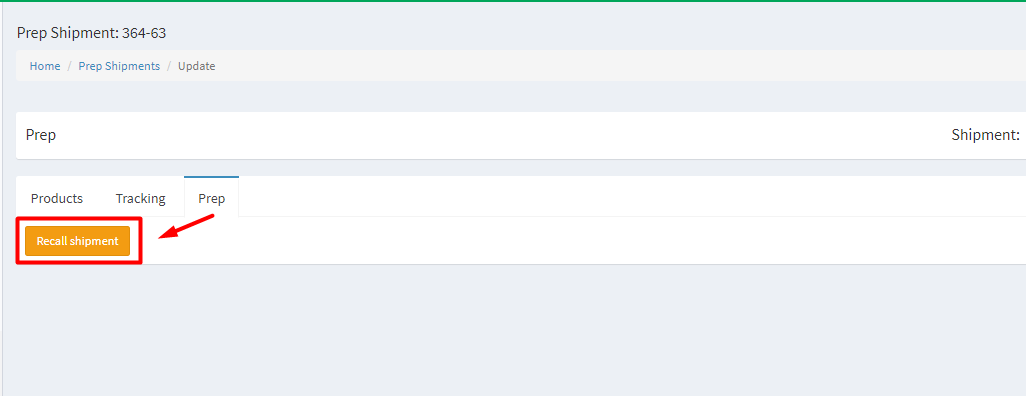
10. If you want to make changes in the shipment, after sending it to the Prep center, you need to recall it. Go to the Prep tab and click on the Recall Shipment button (only available at the “Transfer” status). After that, you can change the shipment and resend it to the Prep center.