Set up email notifications with and from Ysell
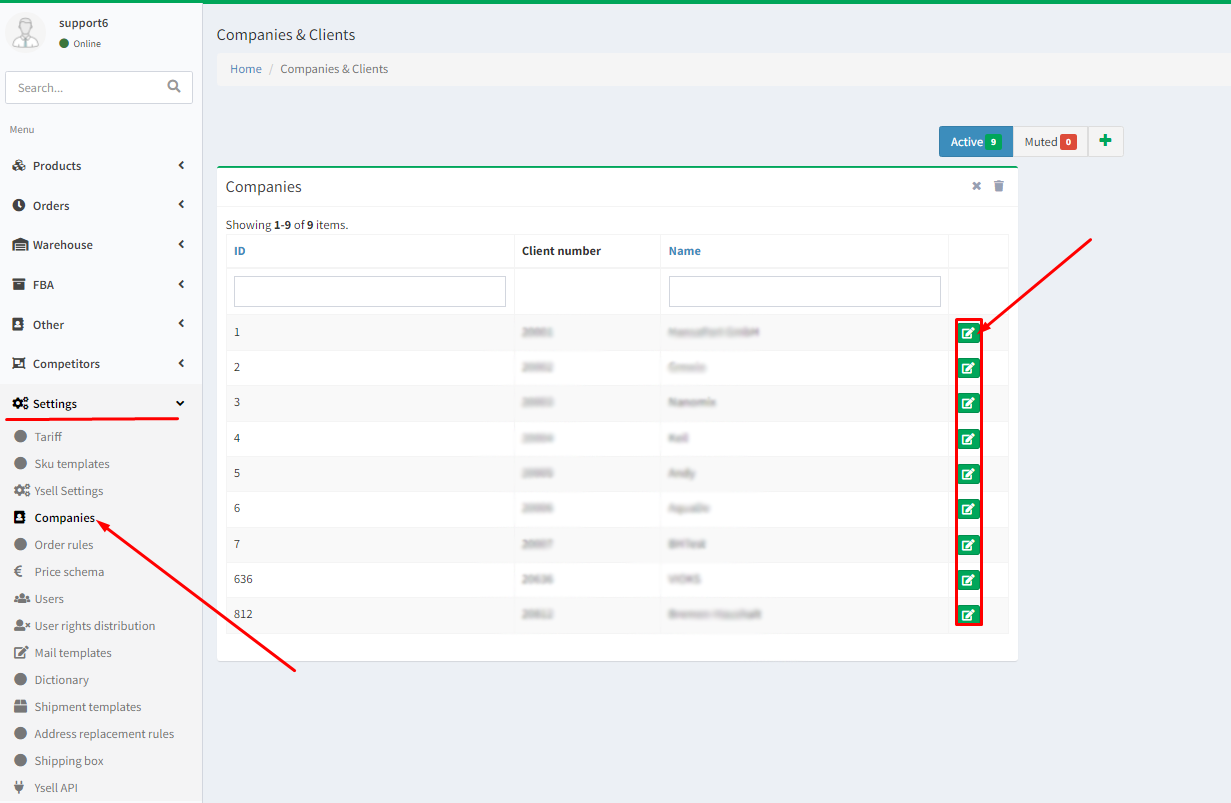
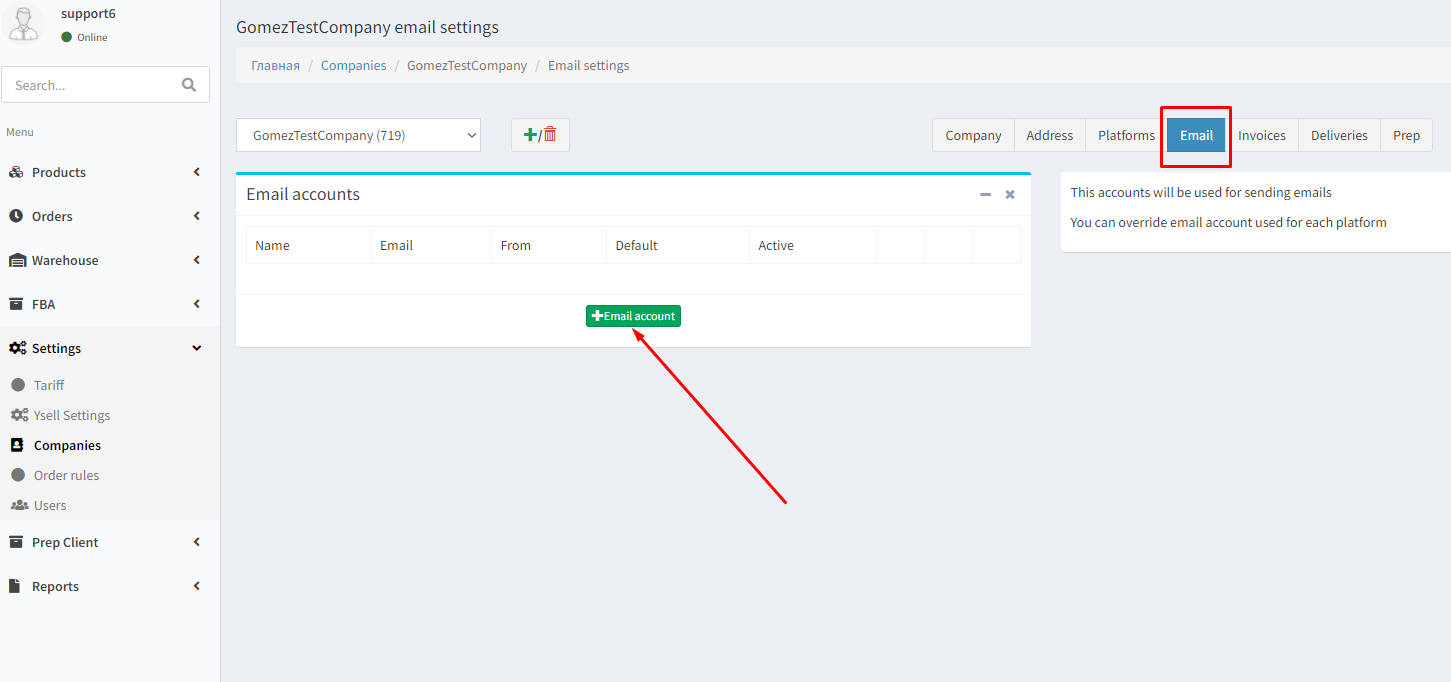
1. Go to Company and choose Settings. Find the Email button there.
2. Click on Add Email.
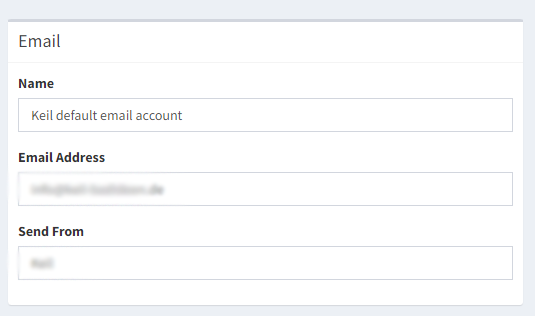
3. Be sure to fill in all the required fields.
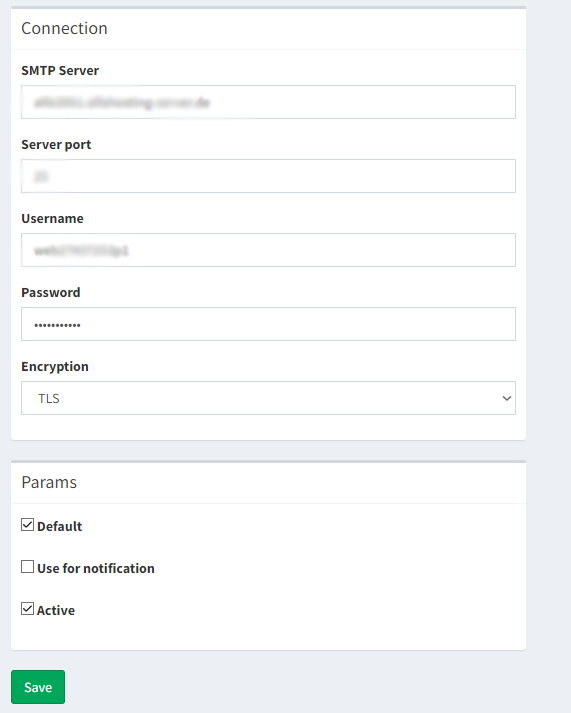
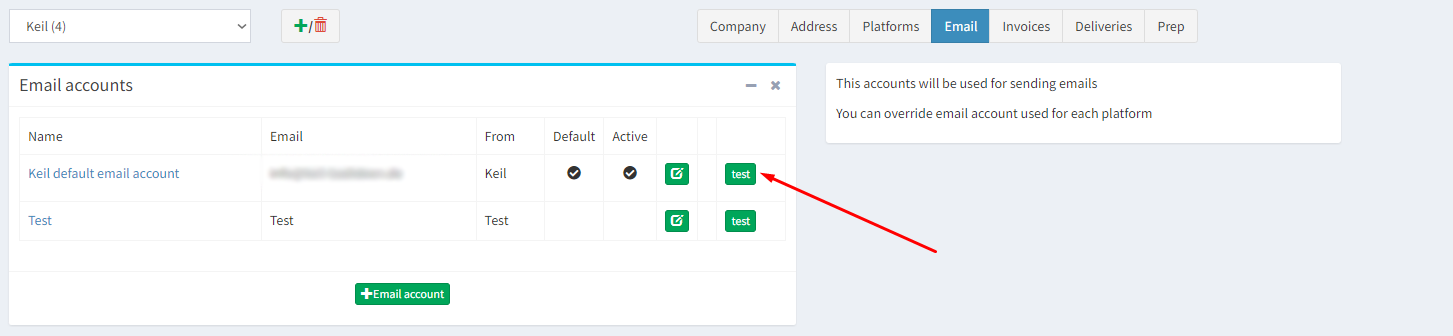
4. After you fill in the fields, test your email account. Enter a test email in the field Test email address and put a checkmark to enable the test. After saving the Email go back to the Email menu and press Test to receive a test message. Be sure to remove the checkmark after the test, otherwise this will interfere with the normal mailing process.

Sending notifications and invoices to clients in Ysell
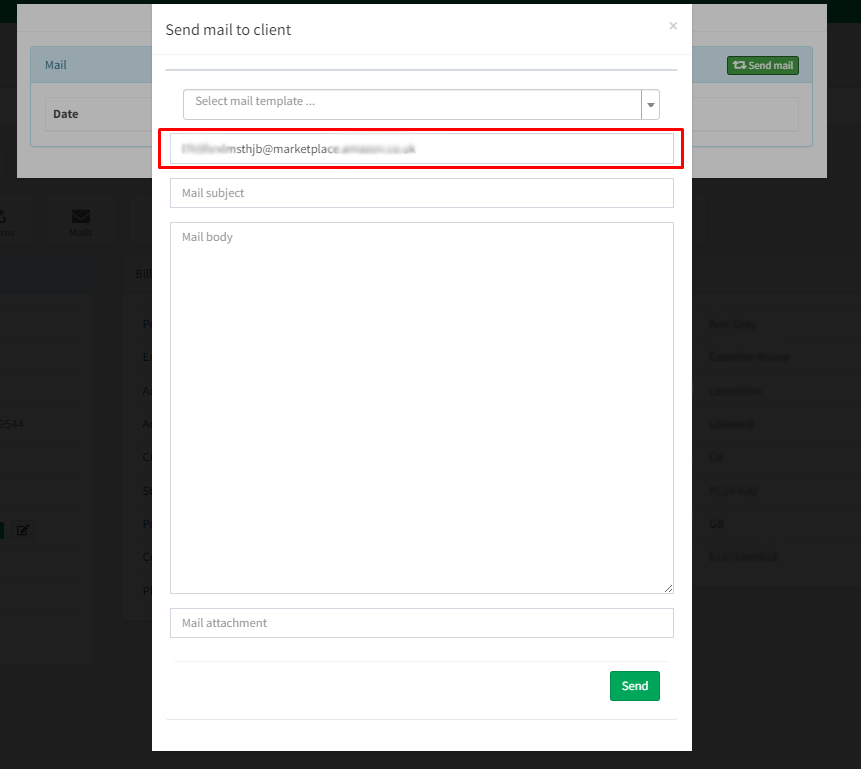
1. Open the Mail tab in the order and click Send mail.

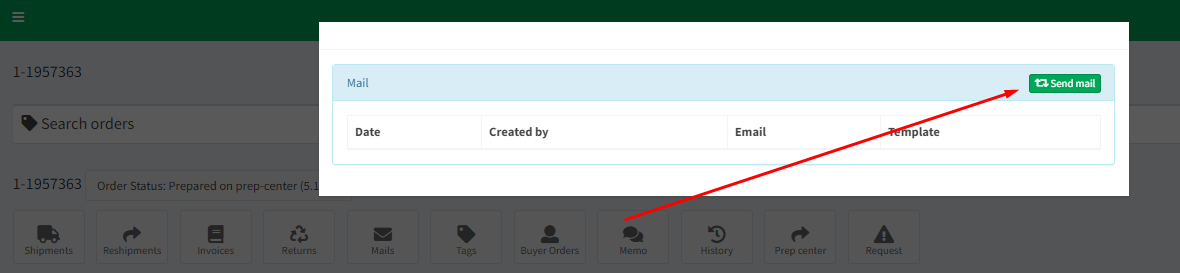
2. In the opened window the email should automatically appear from the order. Fill in the remaining fields in order to send the email.
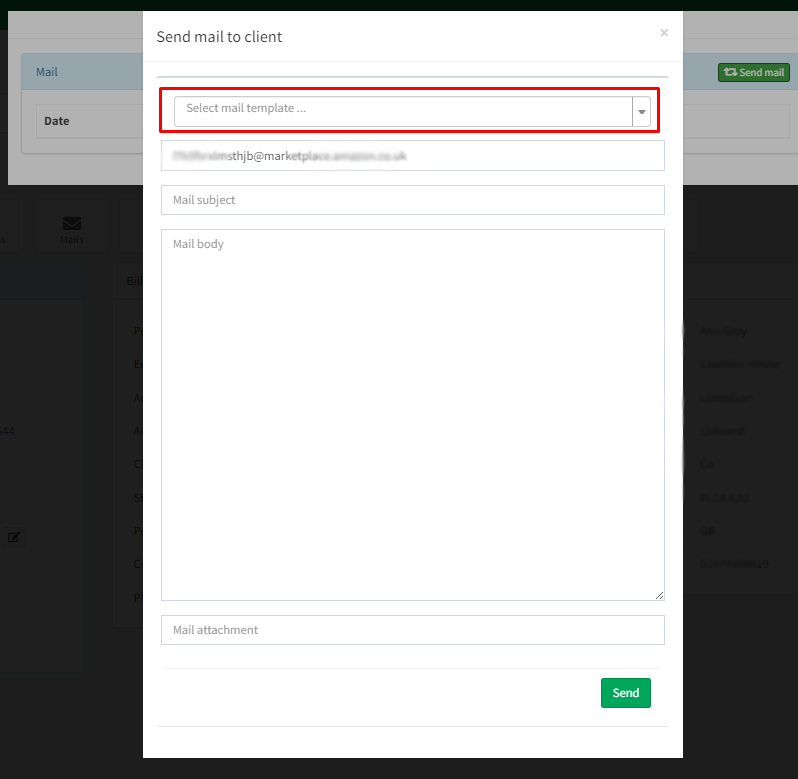
3. The uppermost field allows you to select a pre-created template for sending messages. You can create your own templates only if you have the Classic or a higher tariff. If you work with the basic tariff, you will not have access to Mail templates.
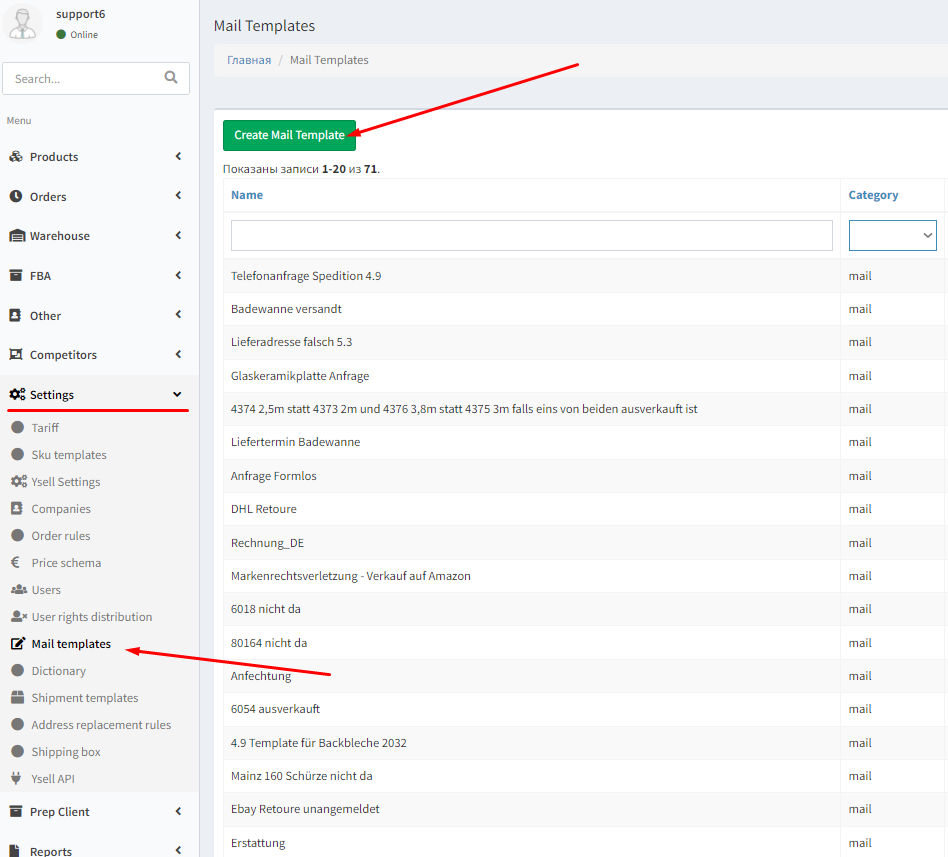
4. To create a template for messages go to Settings and select Mail templates. In the opened page click on Create Mail Template.
5. Fill in the desired fields for the template.
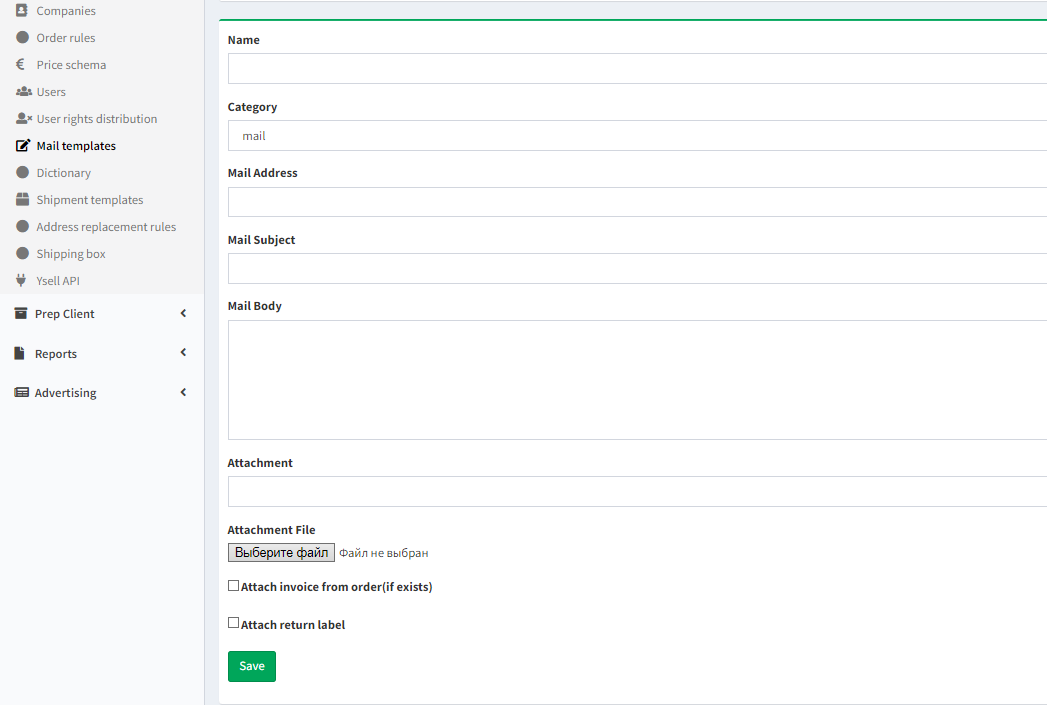
Name - Template name.
Category - Template category.
Mail Address - Specify the email to which you want this template to be sent, in case you want to send the message only to this email.
Mail Subject
Mail Body
Attachment - Name of the attached file.
Attachment File - Attach a file to send it with the message.
Attach invoice from order (if exists) - Send an invoice from the order along with the selected template.
Attach return label - Send a return label along with the selected template.
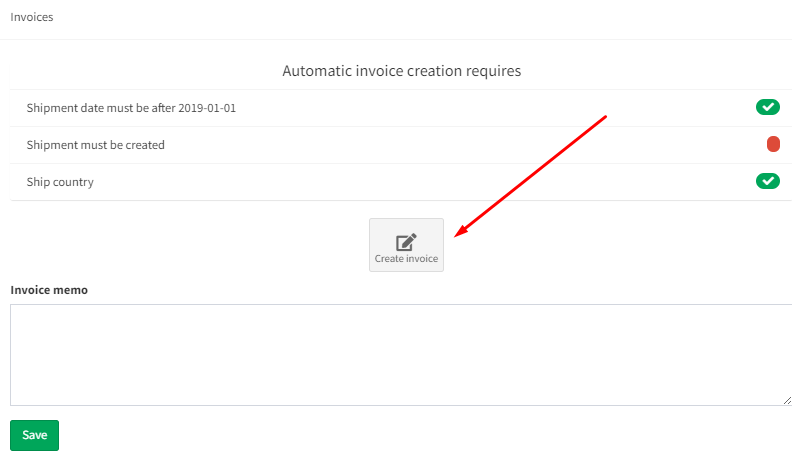
6. In order to send invoices, go to the tab Invoices and click on Create invoice.

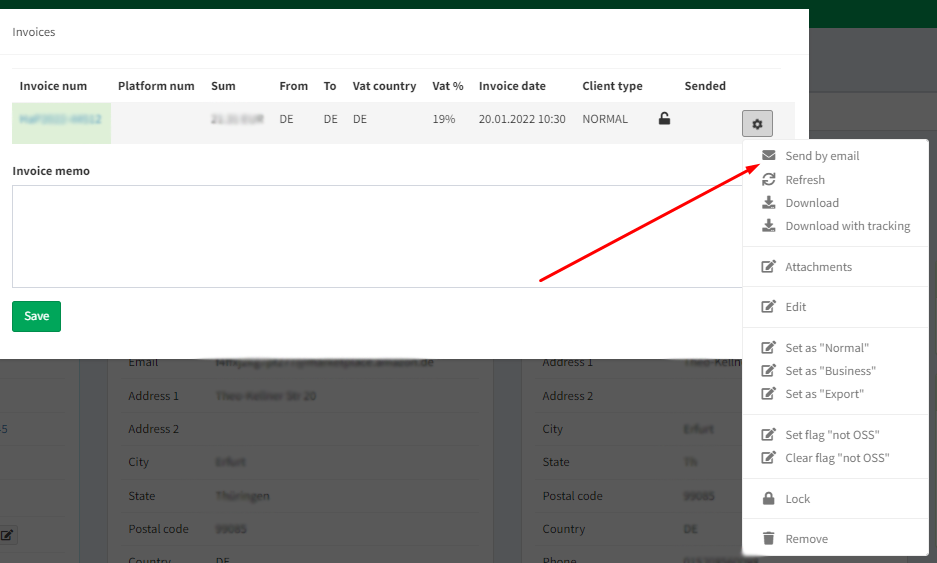
7. Click on the gear wheel symbol to open the invoice management menu. By clicking on Send by email the invoice will be sent by the email entered in the order.
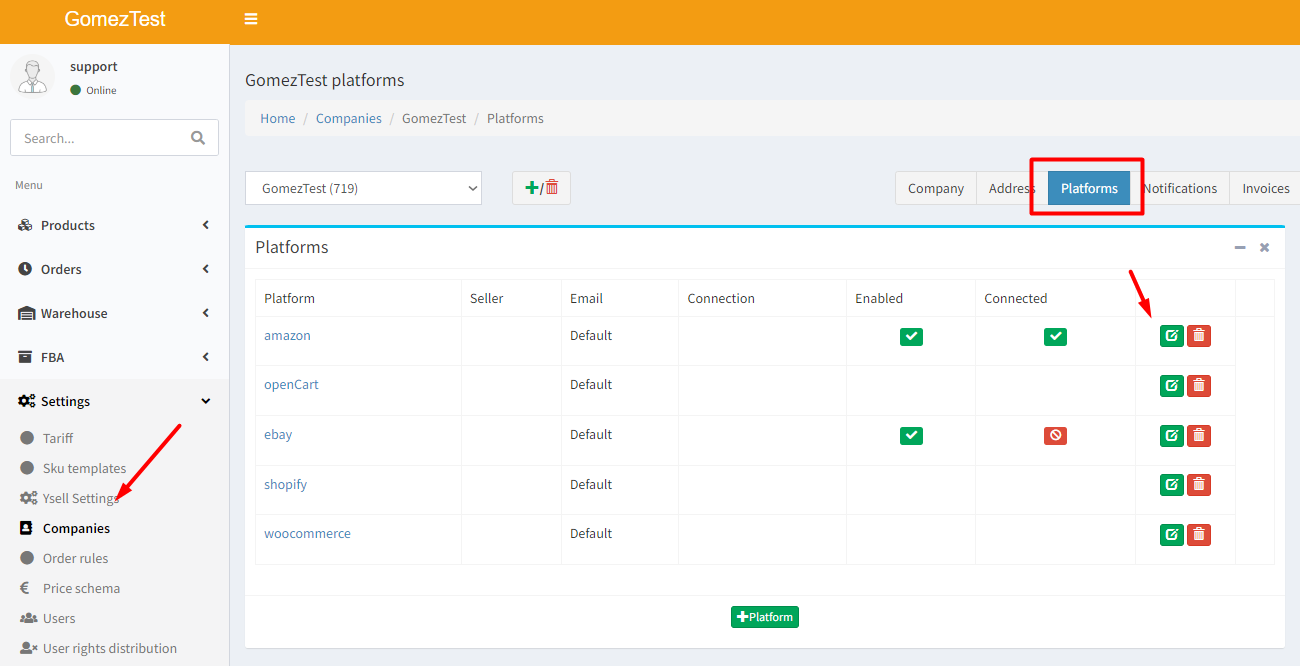
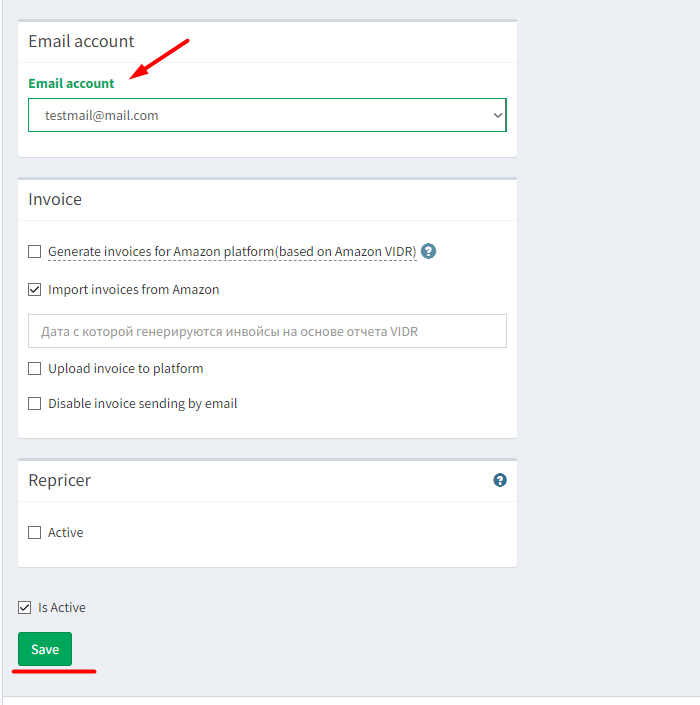
8. You can specify an email-account for emails to send to your customers on Amazon. Go to the platform settings and set an email that will be used for sending emails in the Email account settings. Click Save.