Creating a new supplier
Interacting with different suppliers and increasing inventory are the main goals of any trading company. This article explains step by step how to create a new supplier in Ysell.pro.
1. Go to the Product menu, select Supplier and open the suppliers list.
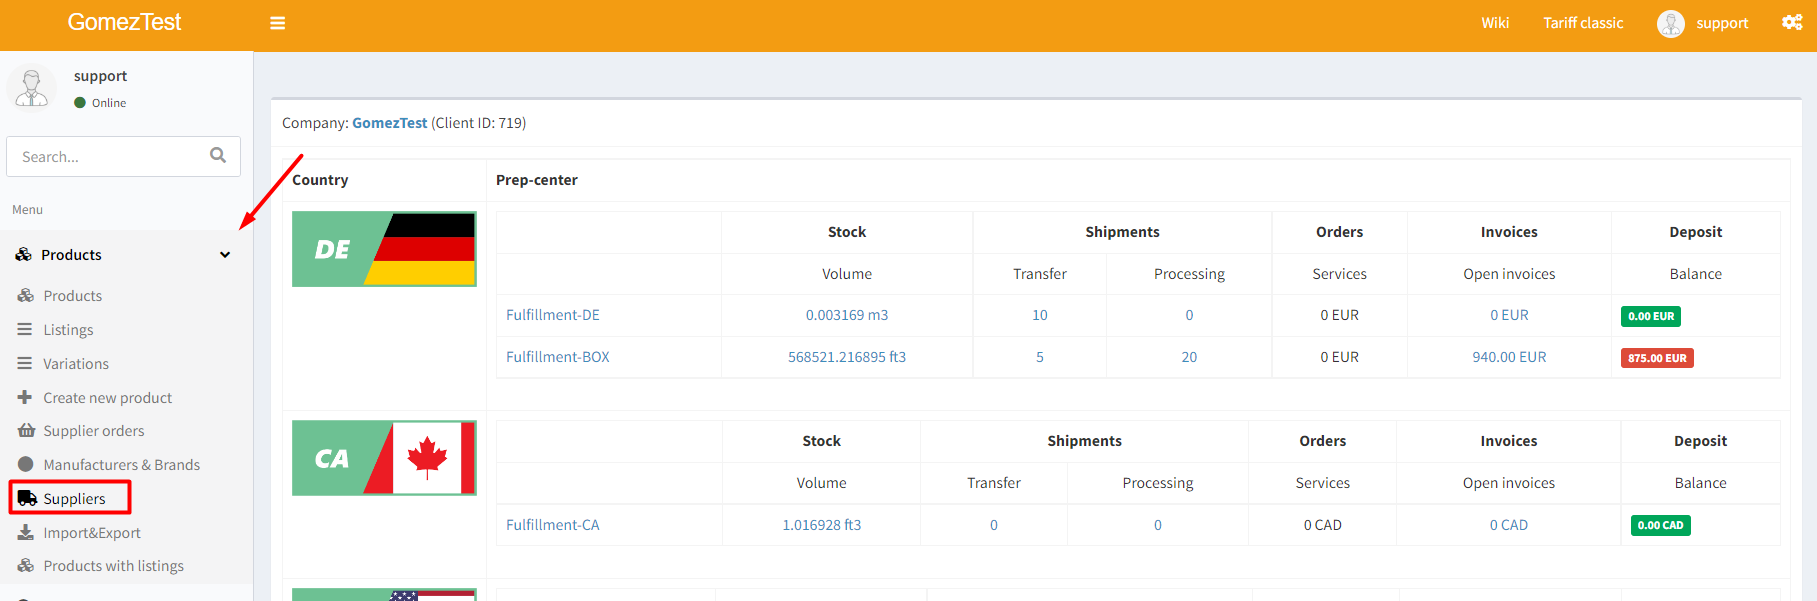
Using the context menu of the page you can create suppliers and edit their lists.
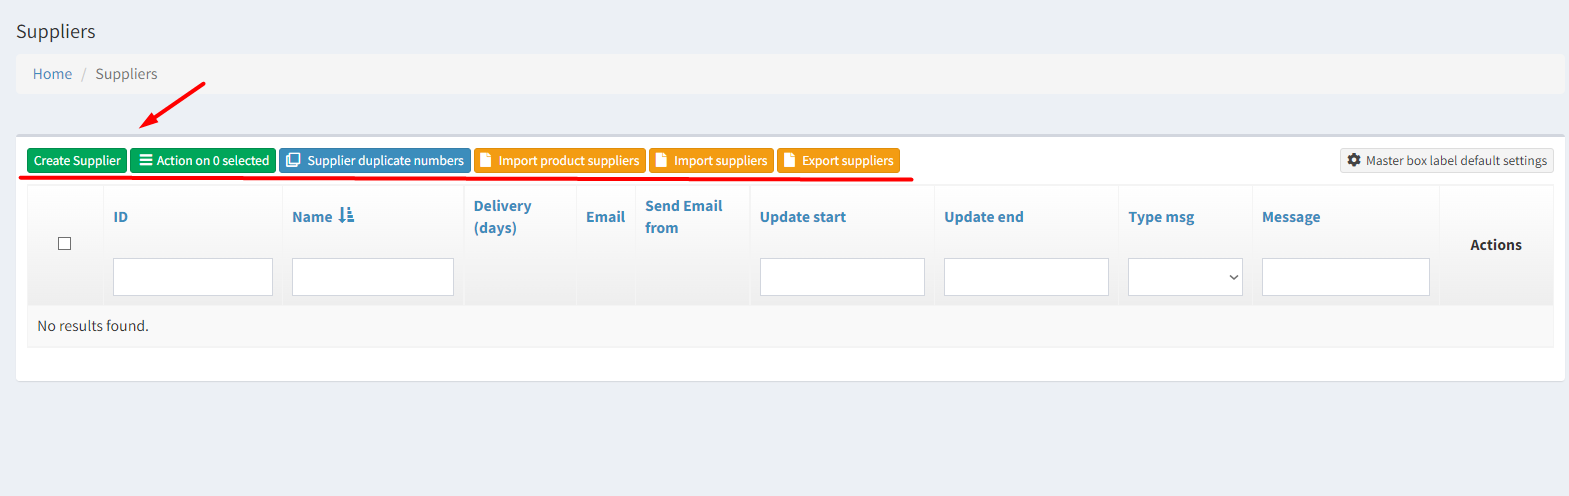
Create Supplier - Enter information about the supplier.
Import Product Suppliers - Import of goods according to their suppliers from a csv file with the following data: SKU; SupplierName; SupplierNum; Cost; Link; IsMainSupplier.
Import Suppliers - Import suppliers from a csv file with the following data: ID; Name; Client number; Client number for FBA; Delivery (days); Product Id Start; Update start; Update end; Type msg; Message; Memo; Email; Send Email from; Width (mm); Text for label; Height (mm); From Client.
Export Suppliers - Export supplier lists from a csv file.
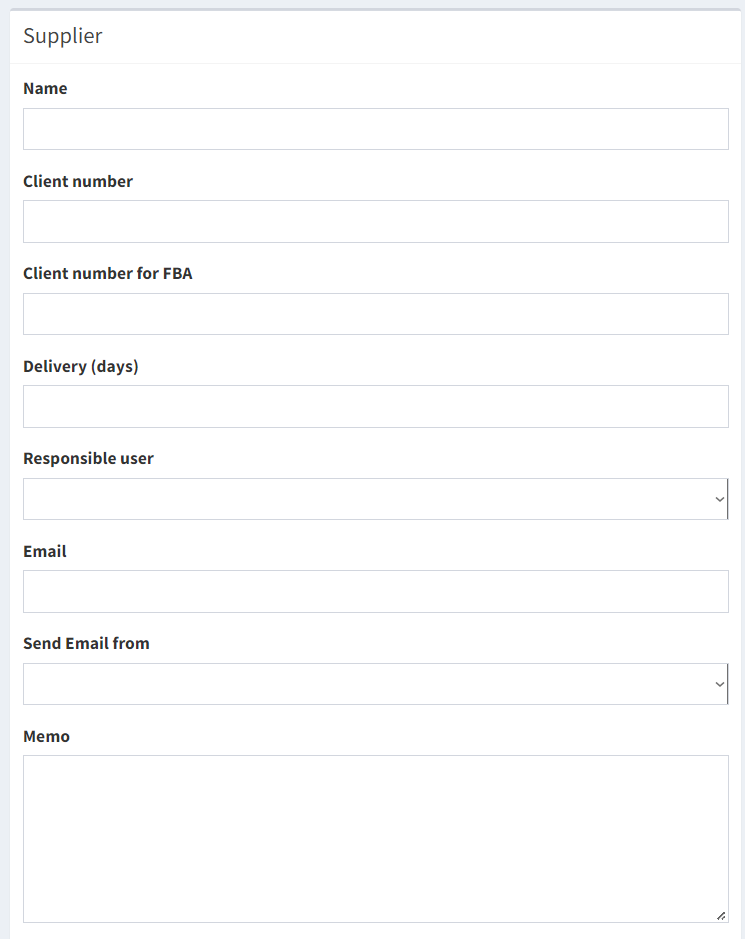
To create a new supplier click on Create Supplier, then enter the information about the supplier.
Name - supplier's name;
Client number - Company ID registered by supplier;
Client number for FBA - Company ID for Amazon orders;
Delivery (days) - Delivery time (from supplier to warehouse);
Responsible user - Assign a responsible manager for the supplier;
Email - Supplier's email address;
Send Email from - Set the e-mail account from which the emails will be sent;
Memo - Specify additional information about the supplier.
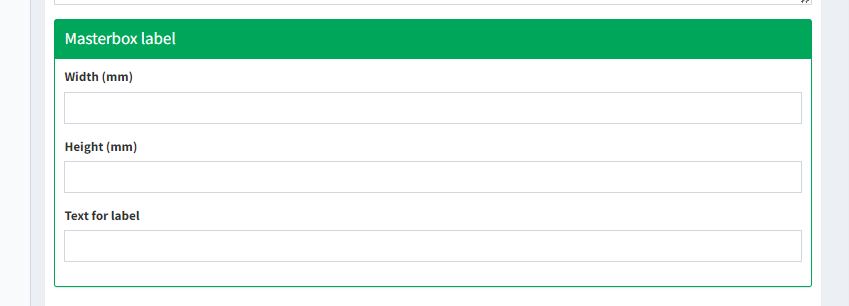
Set the masterbox label dimensions and content for the supplier.
Width (mm) - label width (mm)
Height (mm) - label hight (mm)
Text for label - You can create a special text for the masterbox label.
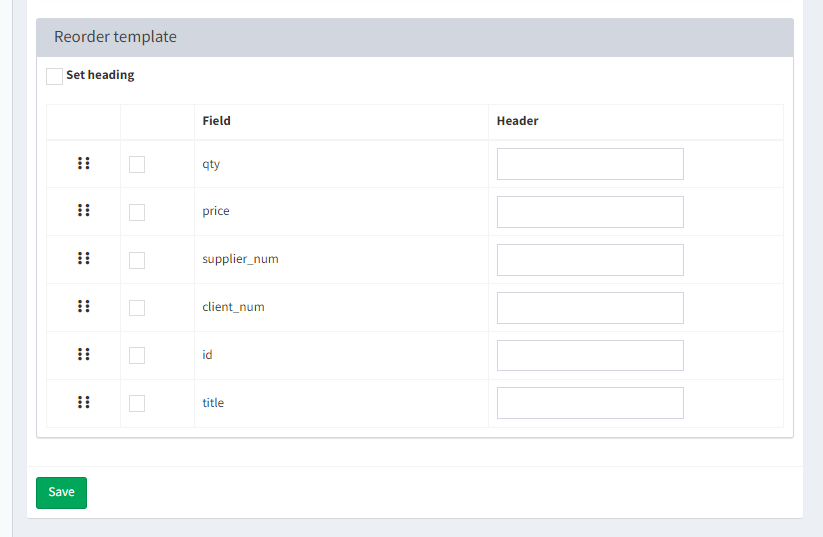
Set the parameters to be used in the order list addressed to the supplier.
supplier_num - Product ID registered by the supplier;
QTY - Number of product units;
price - Value of product registered by the supplier;
client_num - Company ID registered by the supplier;
id - Product ID in Ysell.pro
title - Product name in Ysell.pro